
Fall pumpkin decorating ideas can feel thoughtful without requiring much time or effort. This project uses a few simple materials, yet the finished result feels more considered than expected. It is a small detail that can shift the look of a space while still working within everyday home decor.
Fall decor works best when it feels simple and manageable, leaving more room to focus on the Christmas season. For that reason, this project leans on affordable materials and a finished look that feels classic enough to reuse. These DIY thumb tack pumpkin decorating ideas add interest while still fitting naturally into the rest of your fall decorating.
An Easy DIY Pumpkin Project
This project comes together in a way that feels manageable in an evening or on the weekend. The steps are repetitive, which makes it easier to move through the process without overthinking each detail. It works well as a quiet weekend activity or a short creative reset during the week.
A small group of pumpkins is usually enough to make an impact without overcommitting to the project. One larger pumpkin can anchor a console or mantel, while two or three little pumpkins can be grouped together for a more collected look. This approach works just as well indoors as it does on a small front porch where space is more limited.
What You’ll Need
Materials
• Assortment of faux pumpkins
Tools
• Flat thumb tacks (I used gold)
Before You Start
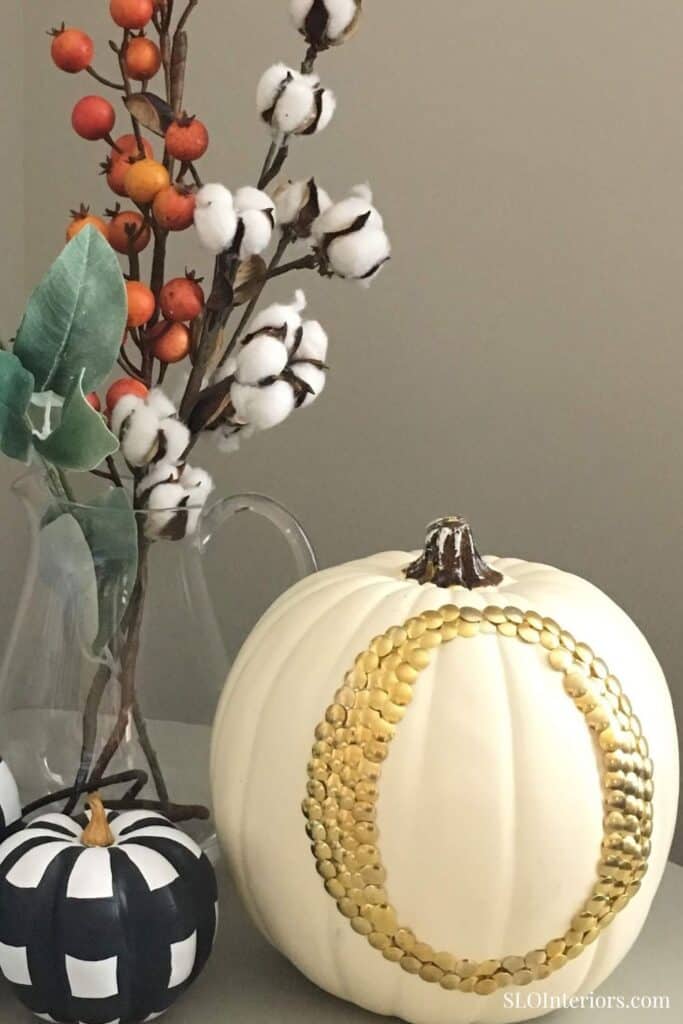
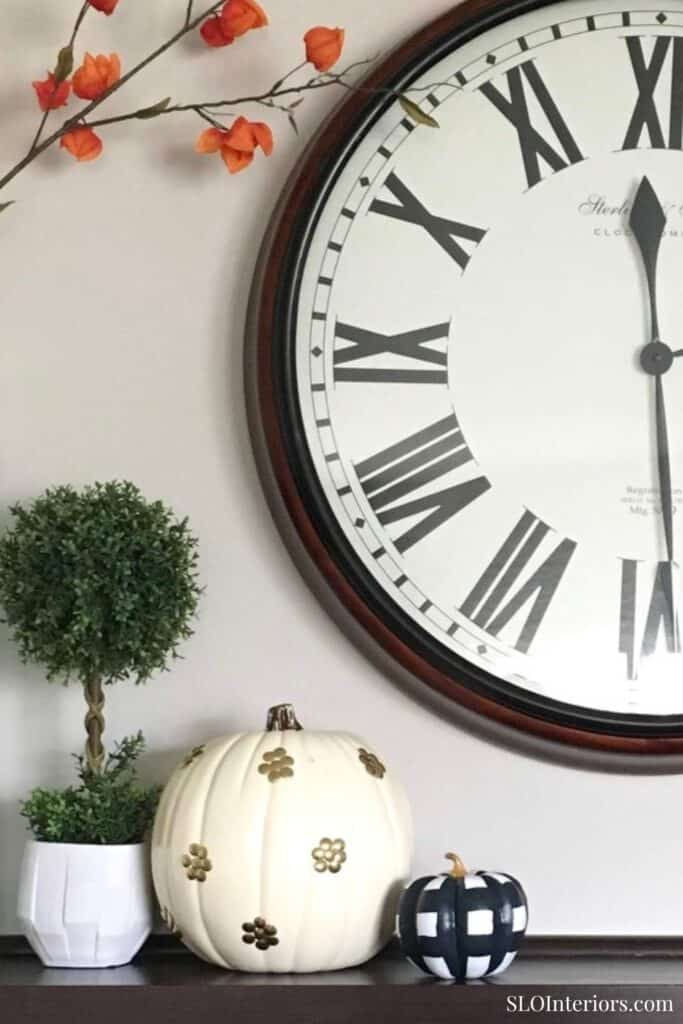
It helps to have a general idea in mind of the design you plan to pin before you begin. Letters are an easy starting point, especially if the pumpkin will sit near the front door where the detail can be seen as you walk up. Simple patterns like stripes or dots also work well and are easier to space across the curved surface.
Starting with one pumpkin and a simple pattern is the easiest way to get comfortable with spacing and placement. Larger pumpkins can support slightly more detail, while little pumpkins tend to look best with clean designs that read clearly.
How to Make Thumb Tack Pumpkins
Step 1: Determine Where your Design Will Go
Start by deciding where your design will sit on the pumpkin based on where you plan to place it in your home. If the pumpkin will sit on a console or shelf, center the design so it is visible straight on. For porch styling, place the design slightly higher so it reads clearly from a distance near your front steps. Lightly trace your design in pencil as a guide before placing the thumb tacks, which helps keep the pattern aligned and evenly spaced.
Step 2: Start Pinning
Place the first few thumb tacks to establish your pattern and spacing. Keep each tack evenly spaced so the design forms clean lines as you build it out. After placing a few, pause and check alignment before continuing so the overall layout stays balanced.
Step 3: Pin Until your Design is Complete
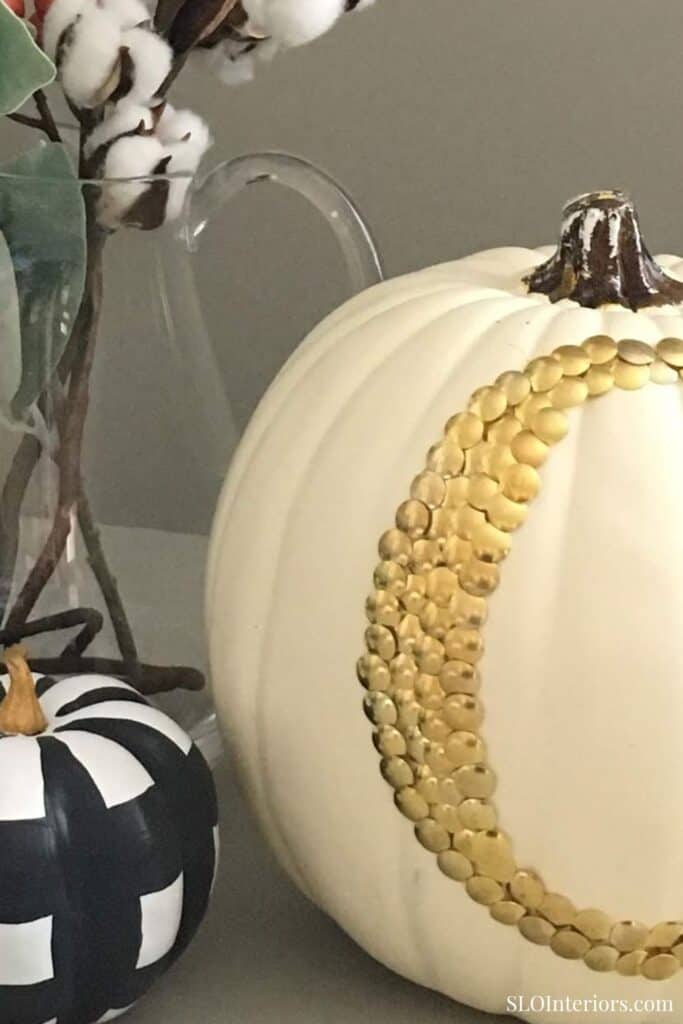
Continue pinning until the design is fully filled in. The thumb tacks should sit close enough together that the base does not show through, while still allowing each tack to remain visible. Step back once or twice as you work to confirm the design stays centered and maintains a finished look.
Styling Ideas for Indoors and Out
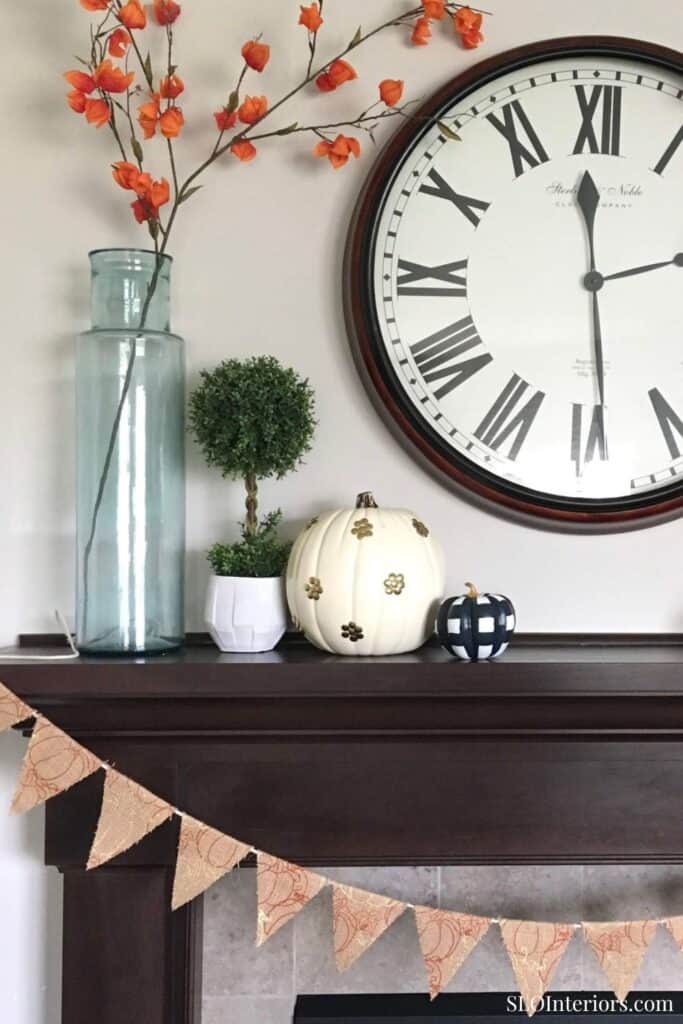
These pumpkins can be styled in several ways depending on your space, and they transition easily between indoor and outdoor use. A single pumpkin works well on a console table or entry surface, while a small grouping creates more presence on a mantle or shelf. Outside, they can be placed near the front door or along the front steps and layered with larger pumpkins, natural elements, and planters for a relaxed fall porch display.
Tips and Variations
This project is easy to customize based on your palette and overall style, which makes it easy to revisit each year. Neutral pumpkins with gold thumb tacks create a classic look, while a colorful pumpkin with silver tacks can shift the design more modern. For another pumpkin project with more pattern, these plaid pumpkins are another easy option to try.
Finished Thumb Tack Pumpkins
The finished pumpkins come together quickly but feel intentional, which makes them easy to work into your existing decor. The pattern adds contrast without taking over, especially when paired with white or natural pumpkins. It is a simple update that shifts the look of your space without requiring a full reset each season.
This project comes together quickly and fits easily into your existing fall decor, which makes it a practical option for the season. With just a few materials and a simple process, you end up with a finished detail that feels intentional and easy to place throughout your home. It works across different spaces, pairs well with what you already own, and can be brought out again each year without needing to rethink your setup.