
Fall pumpkin decor can be simple, polished, and still make a strong impression at home. I like to keep fall decorating focused so my time, energy, and budget stay reserved for the upcoming Christmas season. A few intentional pieces can carry a space without requiring a full seasonal reset.
Many store-bought faux pumpkins come with a high price and a very specific look, which can make them hard to justify if your style shifts or you prefer to refresh pieces over time. This DIY plaid pumpkin project creates a dramatic finish that feels elevated while staying flexible enough to update after a few seasons. If you like a more classic seasonal look, these traditional fall decorating ideas pair well with pumpkin projects like this one.
Custom Plaid DIY Pumpkins
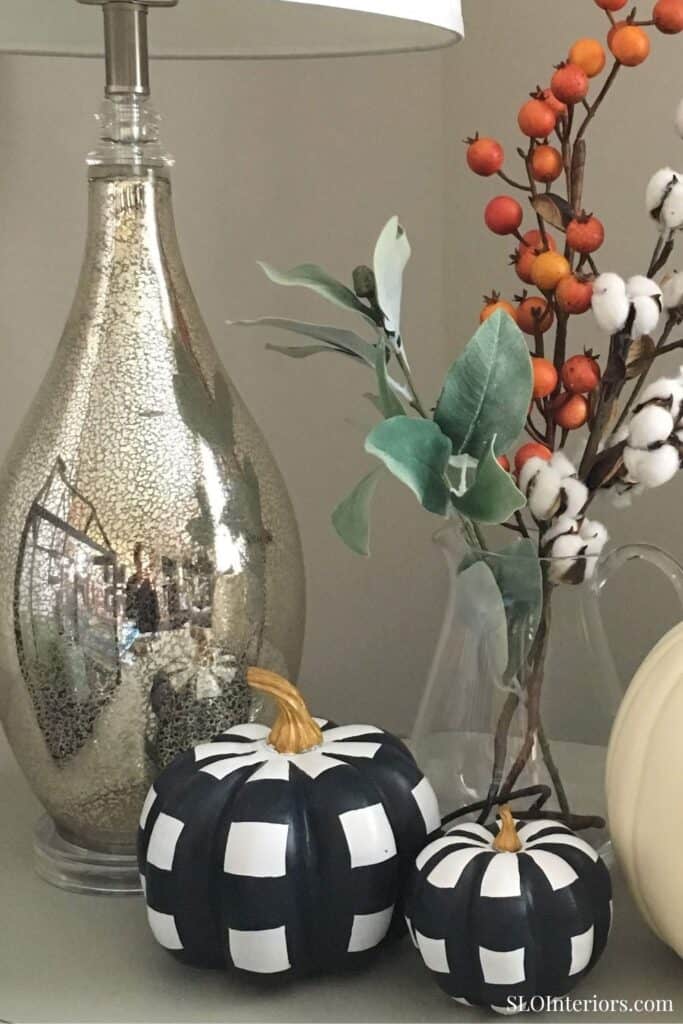
A plaid pumpkin adds structure and contrast, helping fall decor feel more finished without needing additional layers. The pattern adds interest, while the classic black and white palette blends easily with what you already own. It pairs well with familiar elements like white pumpkins, woven textures, and wood accents. This style works just as well in an everyday living space as it does in a more seasonal setting.
What You’ll Need
Materials
- Assortment of faux pumpkins in lighter colors (orange can show through white paint)
- Pencil
- Newspaper or an old tablecloth
Tools
- Black acrylic paint
- White acrylic paint
- A variety of paint brushes
- Water cup
- Paper towels
Before You Start
Set up your work area to protect your table from any paint drips. Cover your surface completely with newspaper or an old tablecloth, especially if you are working on more than one pumpkin. Choose a spot where the pumpkins can sit undisturbed while drying so the finish stays smooth. This project works best when you approach it as a few simple steps instead of trying to rush through it, so keep your supplies together and start with three or fewer fall pumpkins for an easy, manageable set.
How to Make Plaid Pumpkins
Step 1: Paint the pumpkins white
Start by covering the entire pumpkin with white paint, using a medium brush to reach into the grooves. Most pumpkins need two coats for even coverage, so let the first coat dry completely before adding the second. A solid base keeps the black pattern clean and prevents any original color from showing through.
Step 2: Plan the vertical stripes
Look at the pumpkin from the top and use the natural ridges in the pumpkin as your guide. These grooves help you space the pattern evenly as it wraps around the shape. The indents will be where you paint the black stripes onto the pumpkin.
Step 3: Paint the vertical stripes
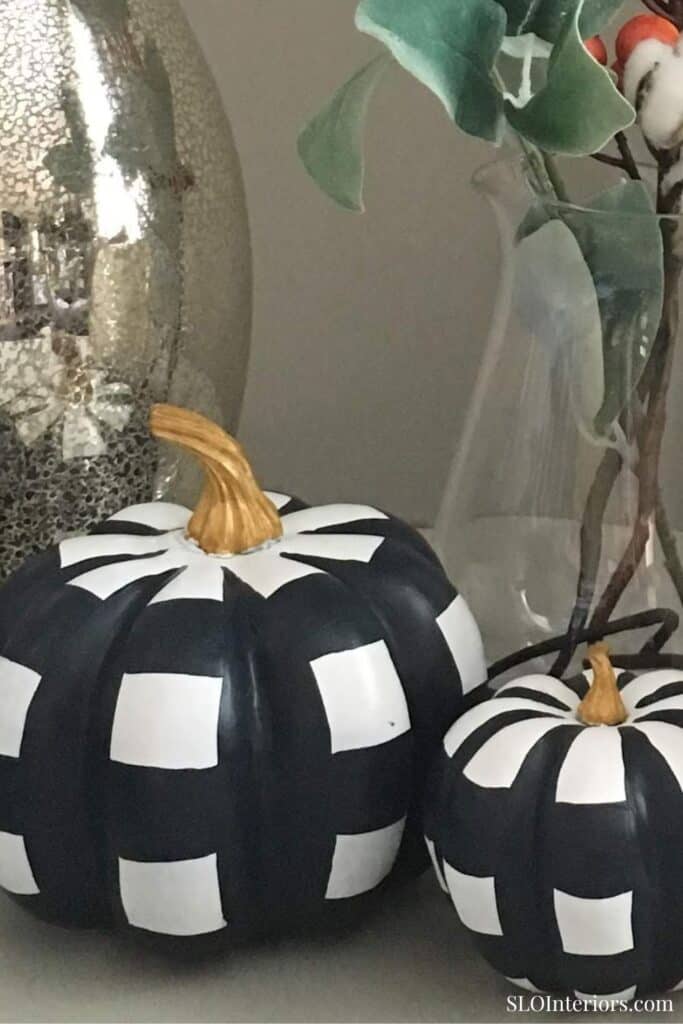
Paint the indented sections from top to bottom with black paint, starting slightly narrow near the stem. Let the stripe widen gently through the middle, then taper again as you reach the base. Allow the paint to dry fully before moving on. You can also stop here if you prefer a simple striped version.
Step 4: Plan the horizontal stripes
Once the vertical paint is dry, lightly sketch three horizontal lines with a pencil. Place one near the top, one through the widest part of the middle, and one near the bottom. Keeping the spacing even helps the plaid pattern look balanced across the full pumpkin.
Step 5: Paint the horizontal stripes
Paint over the pencil lines to create the horizontal bands that complete the plaid pattern. Use a smaller brush where the lines cross grooves so the edges stay clean. I did not seal mine, but you can use a clear spray if you want extra durability.
Styling Plaid Pumpkins for Fall
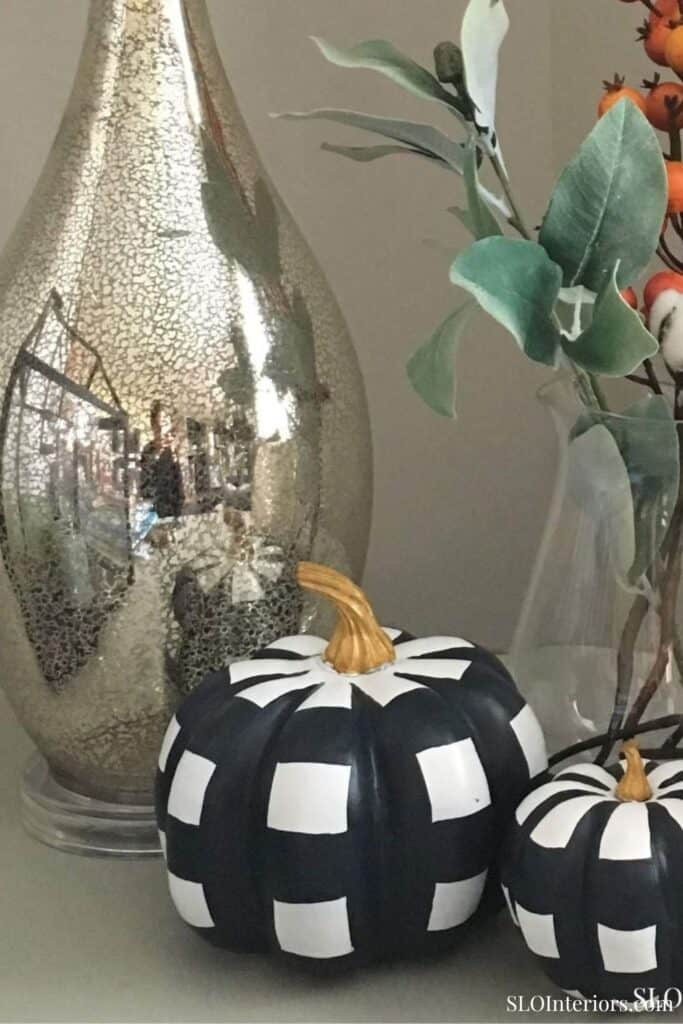
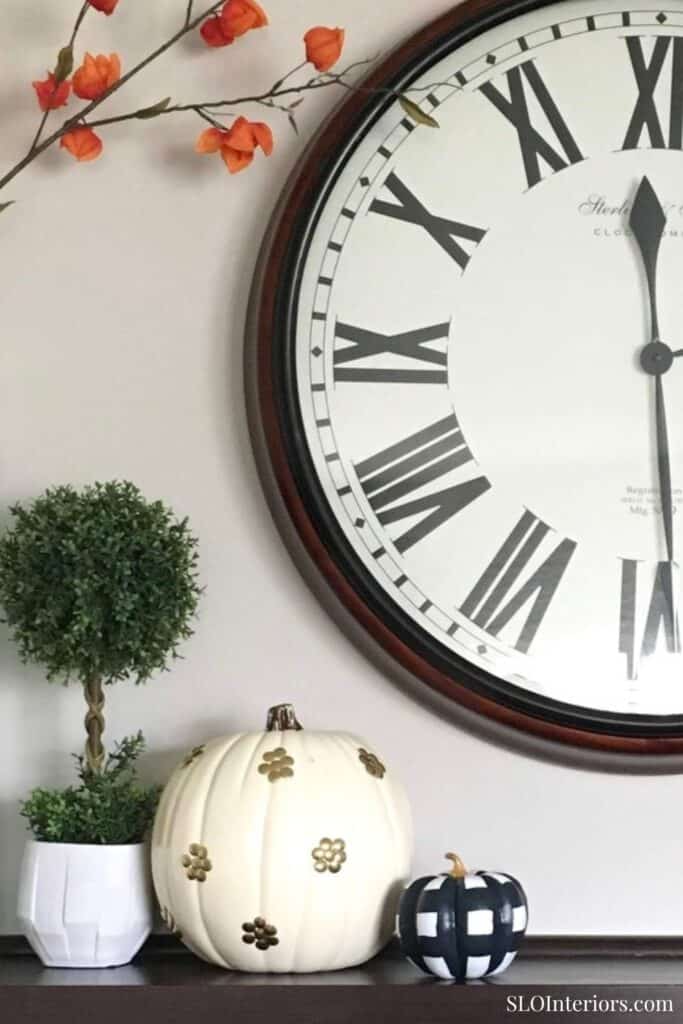
These pumpkins work best when you place them somewhere visible, such as a fireplace mantel, centered on a dining room table, or on a console near the entry. If you are styling outside, set a pair beside the front door so the pattern stands as a focal point. To keep the look balanced, mix them with a few simple pieces like real pumpkins or faux orange pumpkins. Placing them near planters or along the steps on a front porch makes the fall arrangement feel finished.
Tips and Variations
This pattern works with more than just black and white if you want to adjust it to match your home. Try soft green and cream, blue and ivory, or any combination that fits your existing decor. Just make sure to keep enough contrast so the pattern remains visible from across the room. Small changes like wider stripes or tighter spacing can shift the overall look while still keeping the process simple and repeatable.
The Finished Plaid Pumpkins
The finished pumpkins have a structured look that stands out without feeling overdone, making them easy to use as a focal point or within a larger seasonal arrangement. The pattern adds interest, while the familiar shape keeps them approachable, so they blend naturally with other fall pieces. This balance makes them a practical choice that feels intentional without requiring a full decor update.
Seasonal decorating feels easier when a project is both practical and well designed. These painted pumpkins add pattern and contrast without requiring a full update to your seasonal home decor. They help keep your fall style consistent with a pop of fun.
This fall pumpkin design works with many different rooms and styles. It mixes easily with what you already own and still feels polished from early fall through Thanksgiving. The result is simple, adaptable, and easy to reuse year after year.