
An autumn wreath is one of the easiest ways to make your entry feel styled for the season, especially during a busy time of year when simple updates matter most. As school routines return, I am always drawn to pieces that add charm without creating extra work, and this DIY burlap and berry wreath does exactly that. It brings in natural texture, soft fullness, and rich fall color in a way that feels polished without being overly themed. Because it does not lean Halloween specific, it works from early fall through Thanksgiving and stays easy to style with the rest of your seasonal decor.
A Simple Autumn Wreath that Feels Classic
This is one of those projects that feels especially worthwhile because the finished piece looks more elevated than the effort required. It uses only a few supplies, the steps are simple, and the overall shape has an evergreen quality that works year after year, making it a strong option if you prefer seasonal pieces that feel timeless instead of trendy. That classic mix of burlap, berries, and warm seasonal color also makes this wreath a natural fit with traditional fall decor ideas. It is also affordable, which matters during a season when decorating costs can add up quickly, and the mix of burlap, berries, and a simple wire frame creates something that feels thoughtful without becoming complicated. The finished berry wreath has just enough softness and structure to give your front door a warm welcome while still complementing the rest of your seasonal décor.
What You’ll Need
Materials
- Wire wreath base
- 2 rolls of wide burlap ribbon
- 2 to 3 large fall berry stems
Tools
- Scissors
- Hot glue
Before you Start
Before assembling the wreath, trim the large berry sprigs off the main stems so they are easier to place. Doing this first makes the process smoother and gives you more control over spacing once the ribbon is in place. It also helps the berries sit more naturally within the ribbon instead of looking attached at the surface.
How to Make a Burlap and Berry Wreath
Step 1: Weave the Ribbon
Start by unrolling one spool of ribbon completely. Then weave the ribbon in and out of the wire frame, moving section by section until the shape begins to build.
The goal is to keep the ribbon loose as you weave. As you work, allow it to move loosely through the frame so it has room to gather and create softness. That fullness is what gives the wreath its finished look and makes the wreath more substantial.
Step 2: Bunch the Ribbon
After weaving the ribbon through several sections, pull it outward so it bunches into a loose, flowing section. Then scrunch it together until about half of the wreath base feels full. This step creates the body of the wreath and keeps it from looking sparse.
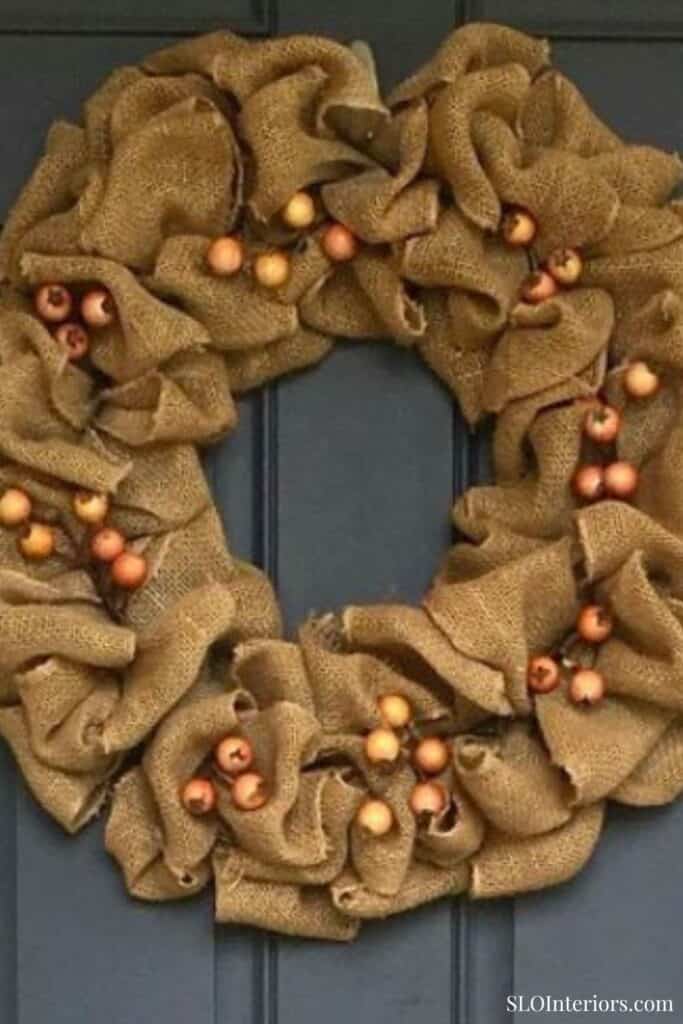
Repeat the same process with the second spool until the full wreath form is filled. Depending on the width of your ribbon, the frame may be completely covered by the time you finish. Once all the ribbon is in place, take a minute to fluff and adjust it so the shape looks balanced and intentional.
Step 3: Attach the Berries
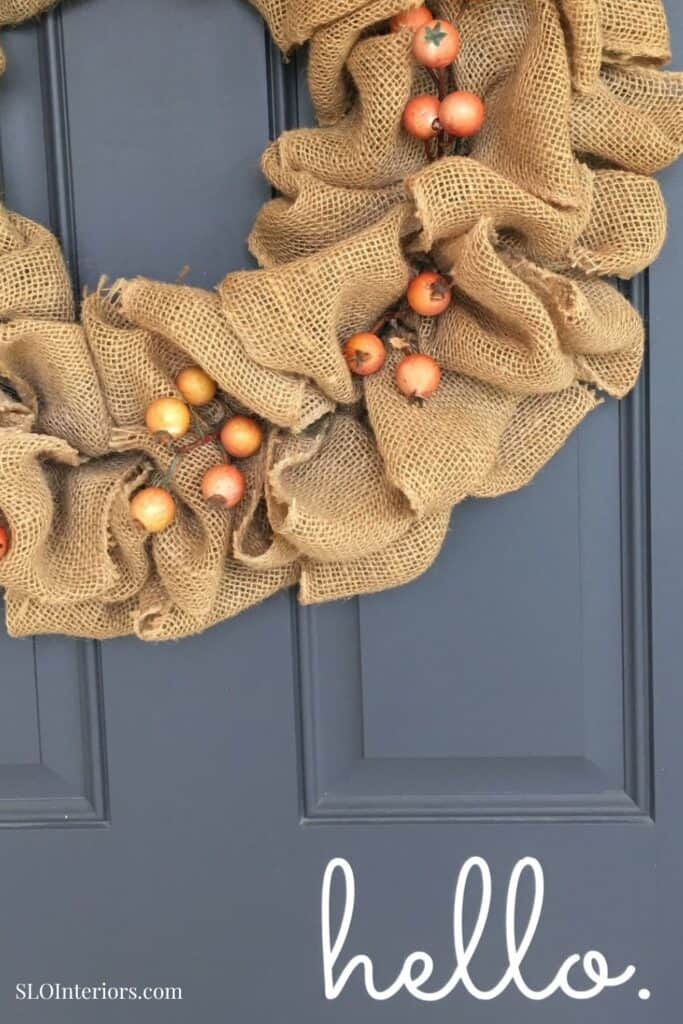
Next, attach the berries with hot glue, tucking each stem deep into the ribbon so it stays nearly hidden. I found it most visually appealing to concentrate the berries closer to the center of the wreath, where they add color without overwhelming the texture of the ribbon and help create a fuller, more finished look. If you prefer something more relaxed, you can space them out slightly for a softer feel. I used berry stems in a deep orange tone, which pairs beautifully with the softness of the burlap, and the result has a balanced mix of fullness, texture, and color.
Styling a Burlap and Berry Wreath for Fall
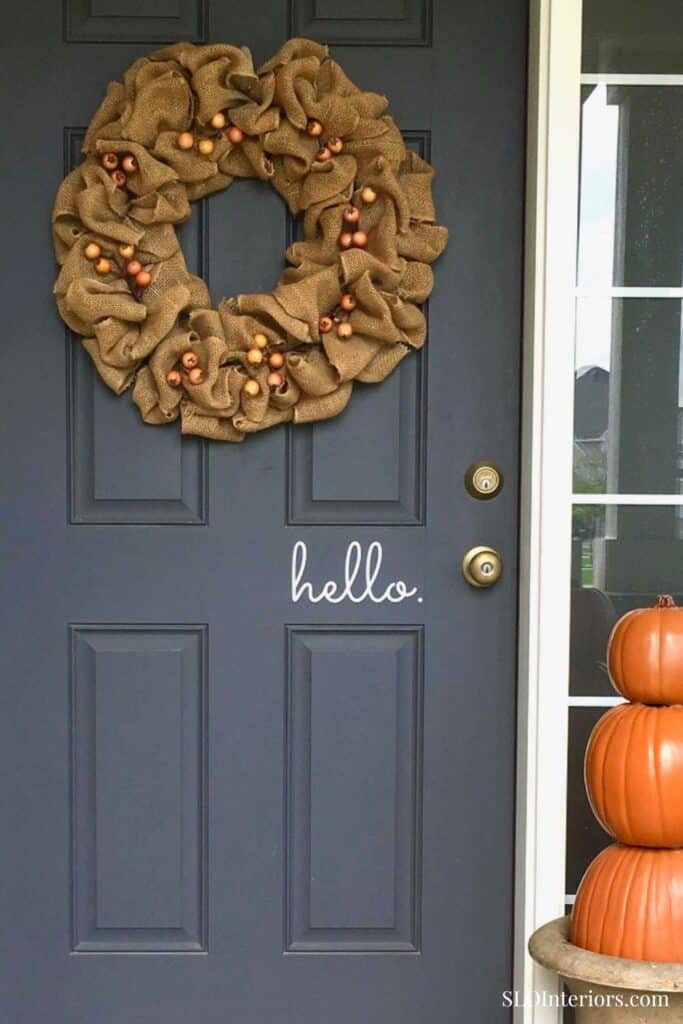
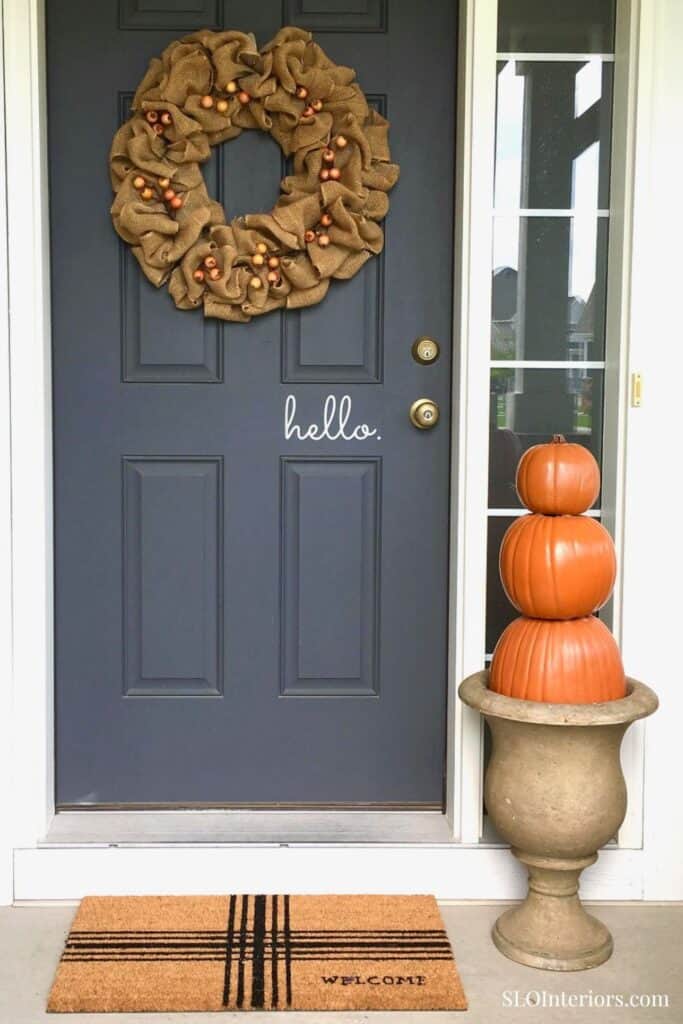
This wreath works beautifully on a front door, especially on homes with neutral tones on the exterior. The burlap keeps the look grounded, while the berries add just enough seasonal color to feel appropriate for autumn. It is an easy way to make an entrance feel more finished without changing much else. For a simple arrangement, style it with a few faux or real pumpkins near the entry.
Tips and Variations
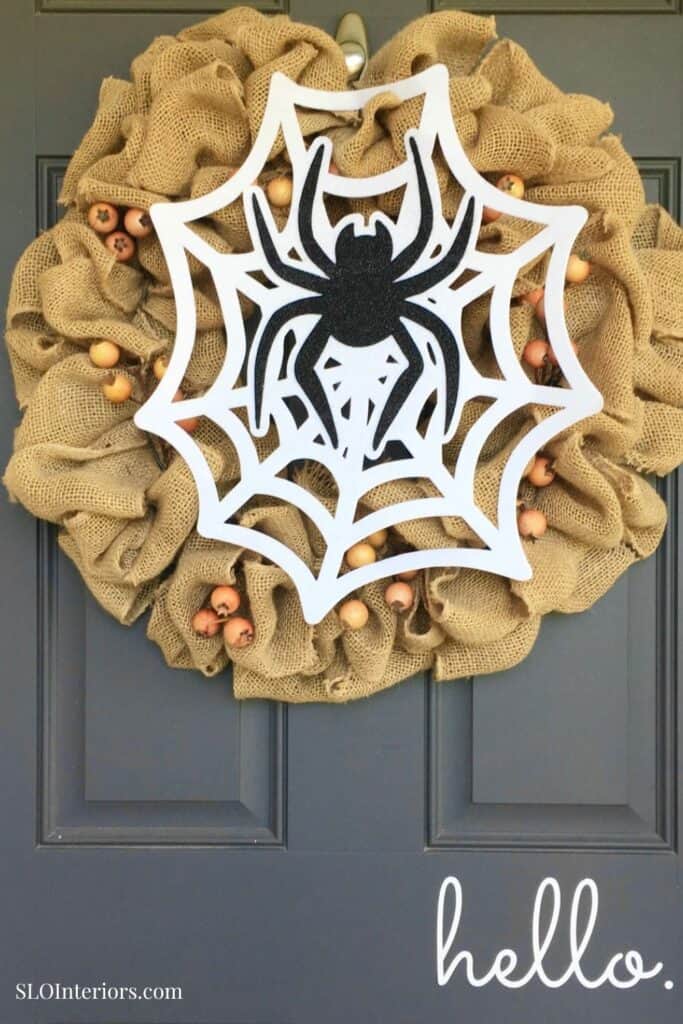
If you want a slightly different look, you can swap the thick burlap ribbon for another wide ribbon with a similar shape and weight. That keeps the wreath feeling full while letting you shift the style a bit. This is a great craft to customize based on the color palette or the look of your home. I have even experimented with adding a simple Halloween overlay for a couple weeks during the fall. For another fall wreath option, this fall magnolia apple wreath starts with a greenery base and adds a fun seasonal element for a different front door look.
Oversized berries can also be replaced with smaller stems, greenery, or even more delicate accents if you want something softer. If you are looking at artificial fall wreaths for inspiration, notice how much difference scale and placement make in the overall finish. Be mindful of direct sunlight as well, since too much exposure may cause fading over time.
An Easy Fall Wreath Project
This wreath is one of those pieces you will likely find yourself coming back to each fall because the finished look feels timeless and well worth the effort. With just a few materials, it creates a front door moment that feels thoughtful, polished, and full of seasonal warmth. It is a beautiful way to add color and texture to your entry, and the kind of project that can become part of your fall decorating year after year.