
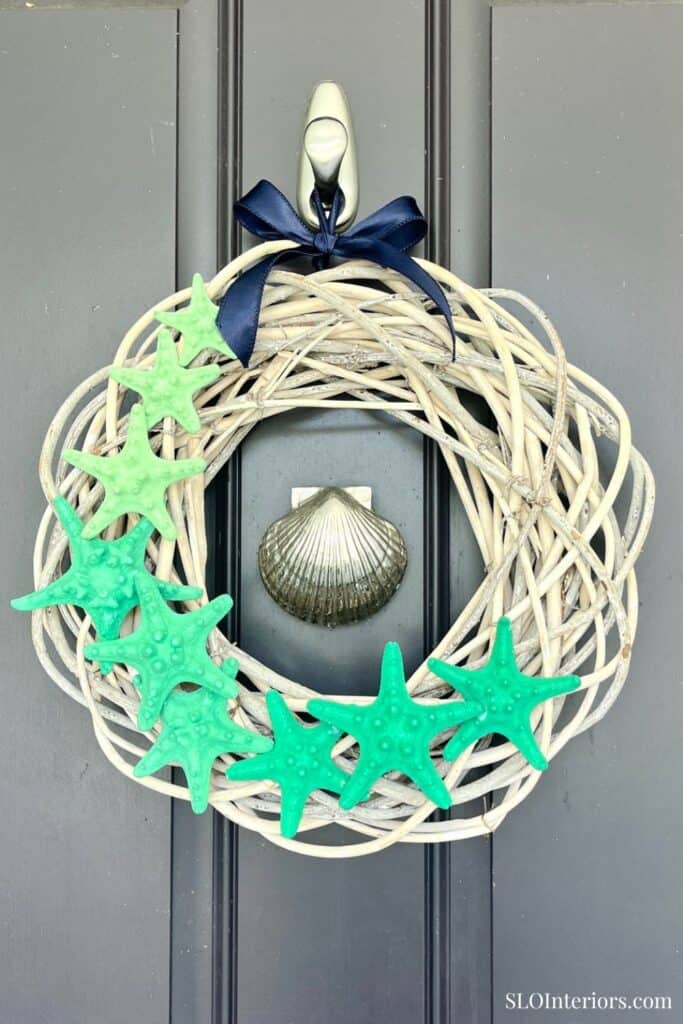
A coastal wreath is a simple and affordable way to bring soft color and natural texture to a front door without making the space feel overly themed. Store-bought coastal wreaths can lean heavily into obvious seaside details, so making your own gives you more control over the color, materials, and overall style. For this DIY decor project, I used a driftwood vine wreath base and painted starfish in several shades of seafoam green, arranging the colors to create a gradual ombre effect. With a short materials list and a few simple steps, the project comes together easily, while a ribbon loop and bow at the top add a final detail without taking the focus away from the color and starfish.
What You’ll Need
Materials
- Driftwood vine wreath
- Starfish
- Acrylic paint
- Ribbon
- Floral wire, optional
Tools
- Hot glue gun
- Glue sticks
- Paintbrushes
How to Make a Coastal Wreath
Before You Start
Clear plenty of surface area before beginning, especially if you plan to paint the starfish as I did. You will need room to experiment with the arrangement, spread out your paint colors, and leave the individual pieces somewhere to dry. Decide on the color palette before painting so the shades work together once everything is assembled. I chose several seafoam tones that coordinate easily with the other coastal decor around my home.
It is also worth arranging everything before attaching a single piece. Leaving sections of the driftwood visible keeps its natural texture in the design and prevents the finished wreath from becoming too crowded. Vary the angles and spacing of the starfish rather than creating a perfectly even pattern around the base. Once you find a layout you like, take a quick photo so it is easy to recreate after painting.
Step-by-Step Instructions
Step 1: Arrange Starfish
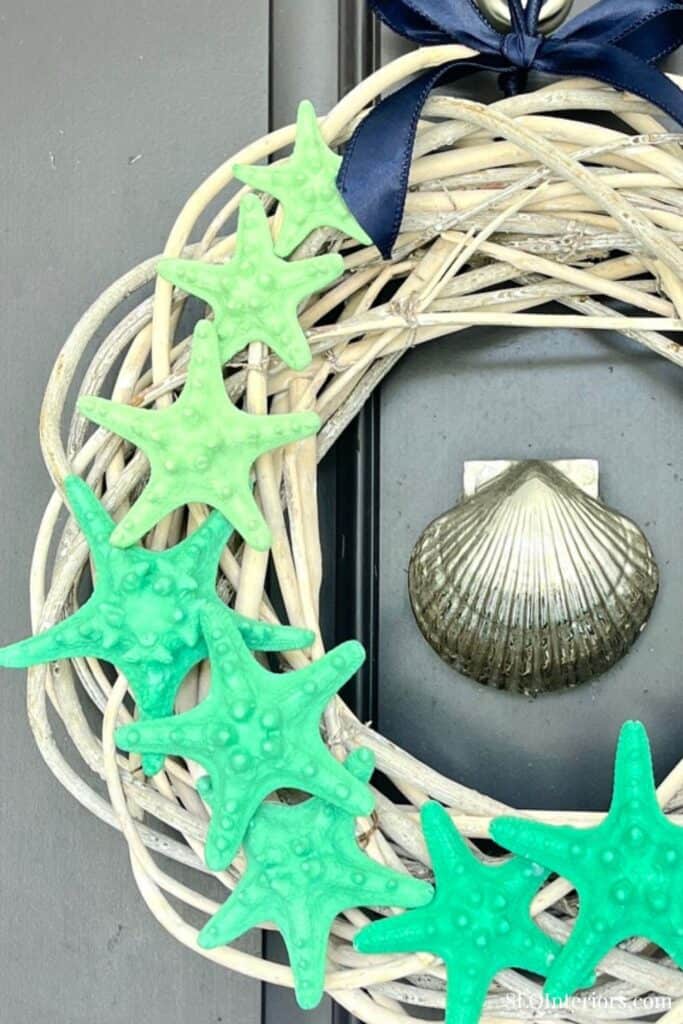
Place the starfish around the wreath and begin experimenting with the layout. Use the natural curves and openings in the driftwood to help guide where each piece sits instead of trying to completely cover the base. Layer and slightly overlap some of the starfish to create more depth, mixing those groupings with a few pieces that sit on their own. A little open space between sections gives the arrangement more definition and keeps the finished design lighter. Look at the entire wreath periodically so you can adjust the balance before moving on to paint.
Step 2: Paint Starfish
Paint the starfish with acrylic paint in the palette you selected. To create the ombre effect, paint two or three pieces in the same color or closely related shade, then repeat the process with the next tone. Let each painted starfish dry completely before moving on. Staying within one color family creates a softer transition while still giving the wreath plenty of variation.
Step 3: Glue Starfish in Place
Once the starfish are dry, return them to the wreath and arrange the colors from lighter to darker to create the ombre effect. Use your original layout as a guide, adjusting the placement as needed so the layered and overlapping pieces still feel balanced. Apply hot glue to the back of each starfish and press it securely against the driftwood, working through the color progression as you go. Step back periodically to check the spacing and make sure the transition between shades feels gradual.
Step 4: Add Ribbon Bow
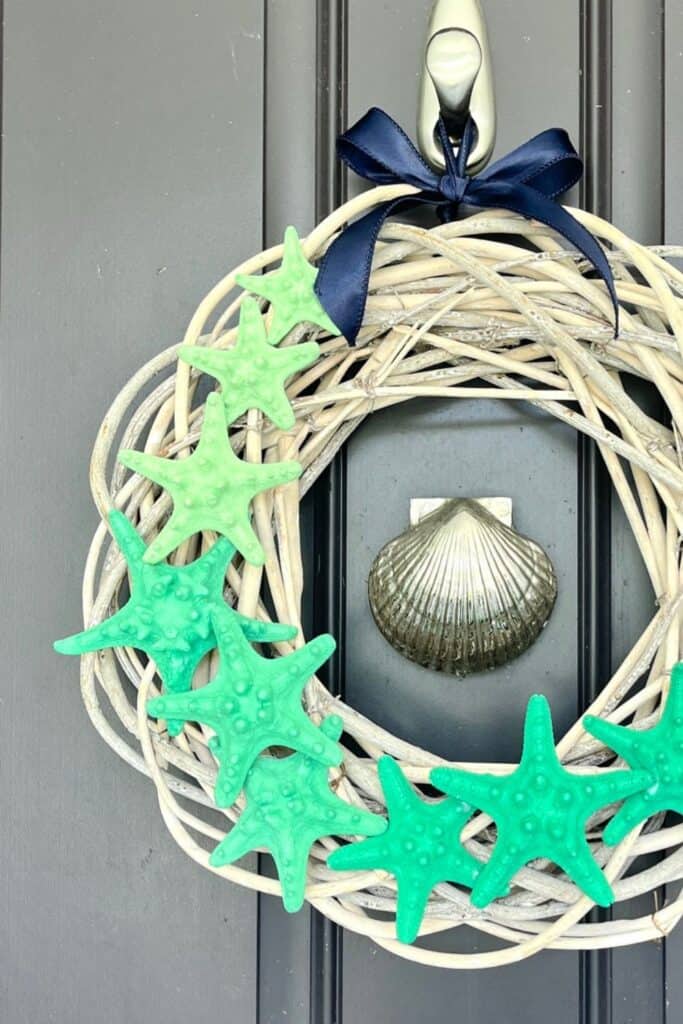
I added a ribbon loop and bow at the top for another layer of detail. It can be attached directly to the wreath or secured with wire if you want more flexibility when positioning it. Keep the bow in proportion with the rest of the design so it finishes the wreath without competing with the painted starfish. This is also an easy place to change the look through color or introduce natural fibers with a different ribbon material.
Coastal Wreath Tips and Variations
I used driftwood vine because its natural, weathered texture works especially well with a coastal theme, but grapevine or a greenery base would work too. The seafoam palette makes this version especially fitting as a summer wreath, while neutral shades could make it easier to use as year-round coastal home decor. Navy or deeper blues would create a stronger nautical influence, while a tighter group of pale colors would feel quieter and more subtle. Even changing only the ribbon can shift the overall style.
I used driftwood vine because its irregular texture works well with the starfish, but grapevine or a greenery base would work too. Boxwood or faux spruce would give the wreath a fuller look and create an easy transition into more traditional seasonal wreaths for fall or the holidays. You could also add florals or greenery as accents, although I prefer to keep those details minimal. Coastal themes can get tacky quickly, so a simpler mix of textures and a restrained palette usually works better. For more ways to use soft color, natural textures, and coastal accents throughout your home, see my coastal home decor ideas.
Finished Coastal Wreath
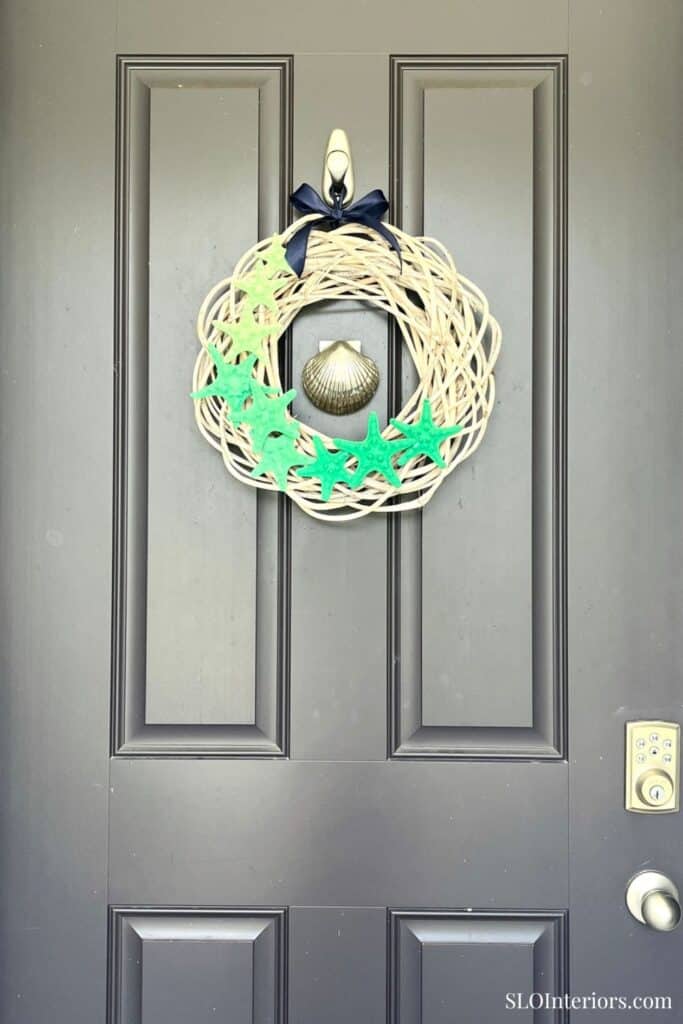
The finished coastal wreath combines soft seafoam color with the natural texture of driftwood for a look that feels colorful, relaxed, and distinctly coastal. Arranging the painted starfish in an ombre pattern creates movement around the wreath, while the visible base keeps the design from feeling too busy. With simple, affordable materials and just a few easy steps, it is the kind of project that can be completed in one sitting without requiring a long supply list or complicated process. The ribbon adds a final layer of detail, and the finished wreath is a simple way to bring coastal style into your home without letting the theme take over.