This DIY pumpkin stack is one of my favorite ways to create a classic fall look on a front porch. I always love the look of traditional fall pumpkins and the way they set the tone for the season, especially as everything starts to shift from summer into fall. It adds height, color, and structure without needing a full porch makeover.
Once the holiday season gets closer, I prefer to save my time and money for Christmas decorating and festivities. That is why I am always drawn to simple fall porch decor ideas that still feel styled and intentional. This stacked pumpkin project works with almost any outdoor style and creates a beautiful fall scene without requiring a complicated setup.
A Simple Fall Porch Statement
A stacked pumpkin topiary at a retailer can easily cost a hundred dollars, which makes them hard to justify for something so simple. This DIY version gives you that same full, styled look using a few basic materials and very little effort, while still feeling classic and easy to work into your space. It can be adjusted with different sizes or a unique color, and it works just as well outdoors on a front porch as it does indoors.
What You’ll Need
Materials
- Small faux pumpkin
- Medium faux pumpkin
- Large faux pumpkin
- Urn or pot
Tools
- Hot glue gun and glue sticks
- Utility knife or small serrated knife/saw
Before You Start
Clear a large area where you can work comfortably with the pumpkins and tools. A kitchen island, work table, driveway, or front porch all work well for this project. Having enough room to spread everything out makes it easier to stack, adjust, and build the shape before you glue anything together.
How to Make Stacked Pumpkins
Step 1: Remove the Pumpkin Stems
Since the pumpkins will be stacked smallest to largest, the stems need to be removed from the medium and large pumpkins. Cut a circle around each stem, similar to carving, then lift the top off and discard it. This creates a small hole at the top, which you’ll use in the next step, and helps the pumpkins nest together more naturally.
Step 2: Stack the Pumpkins
Before using any glue, stack the pumpkins to see how they naturally sit together. As you rotate them, the ridges will line up differently, and some positions will feel more stable than others. Taking a minute here helps you find a shape that feels balanced and intentional before anything is set in place.
Step 3: Glue the Pumpkins Together
Start with the largest pumpkin on the bottom. Run a line of hot glue around the edge of the hole you cut, then set the medium pumpkin on top and press it down for about a minute so it holds.
Repeat this step to attach the smallest pumpkin to the medium pumpkin.
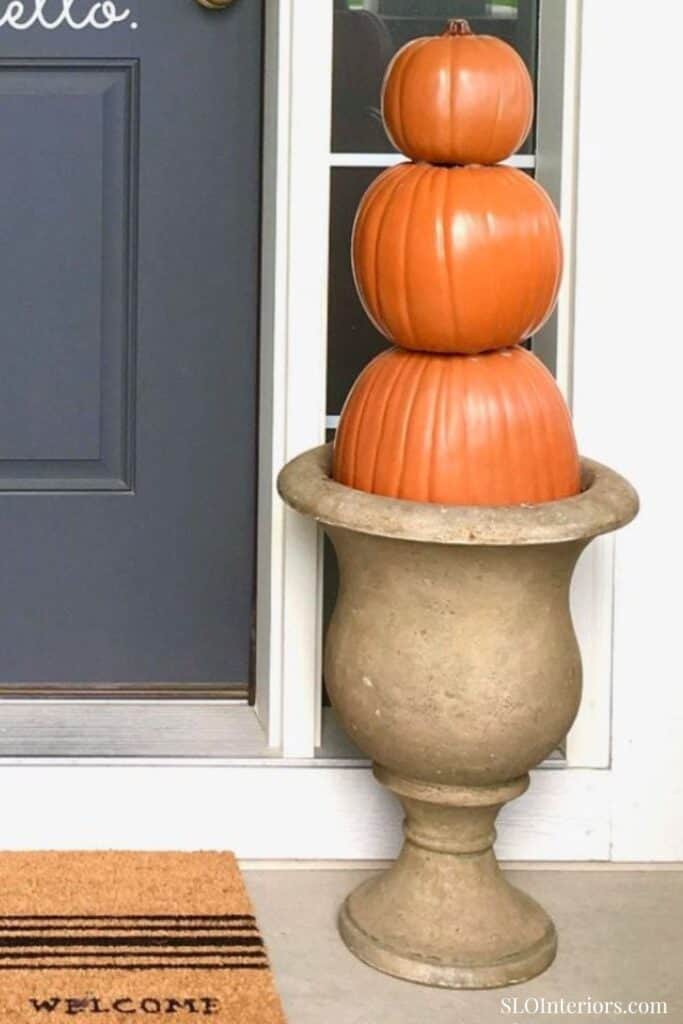
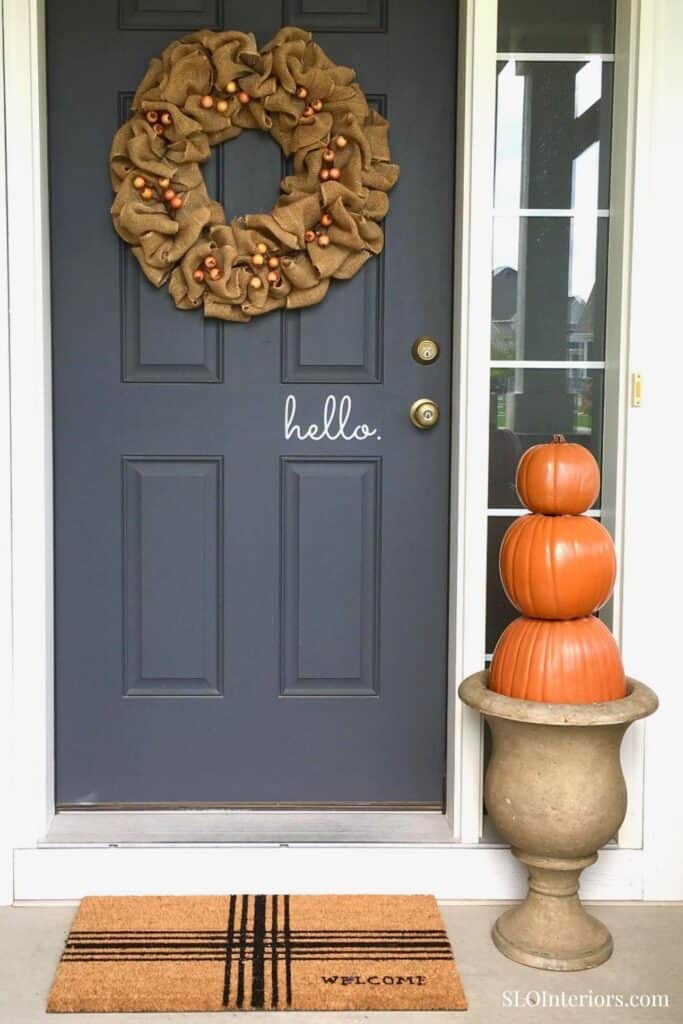
Step 4: Place in Pots or Urns
Set the finished stack inside an urn or pot with enough depth to help it stay upright. The base should have some weight to it, especially if you plan to use it on a front porch.
If the fit feels loose, add dirt, rocks, or another heavy filler to stabilize it. These hollow pumpkins are light, so this step helps keep everything in place.
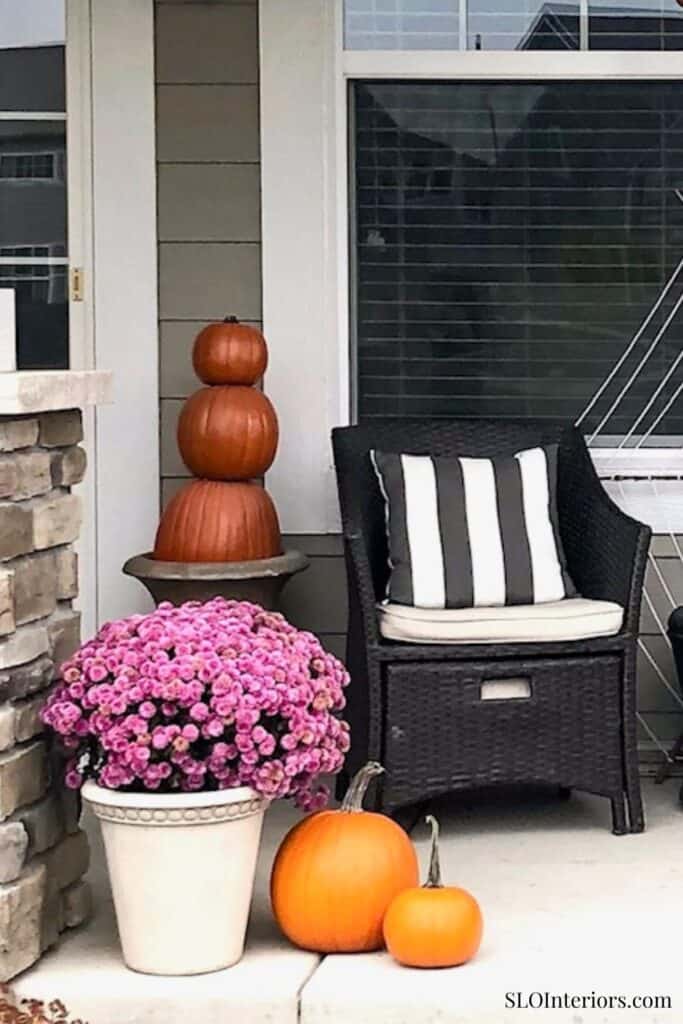
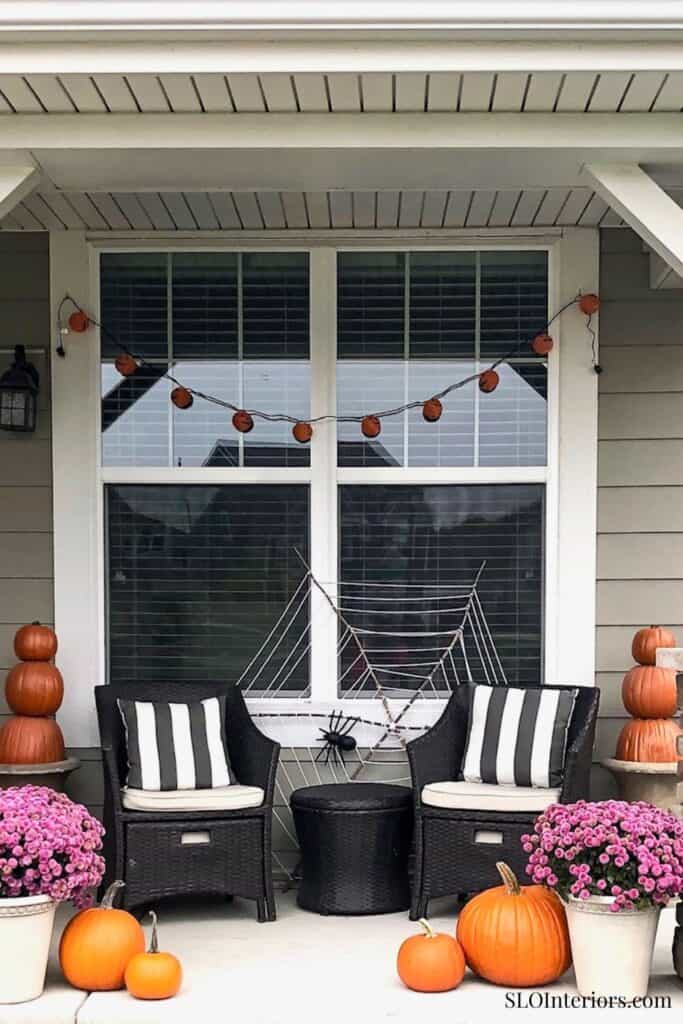
Styling Stacked Pumpkins for Fall
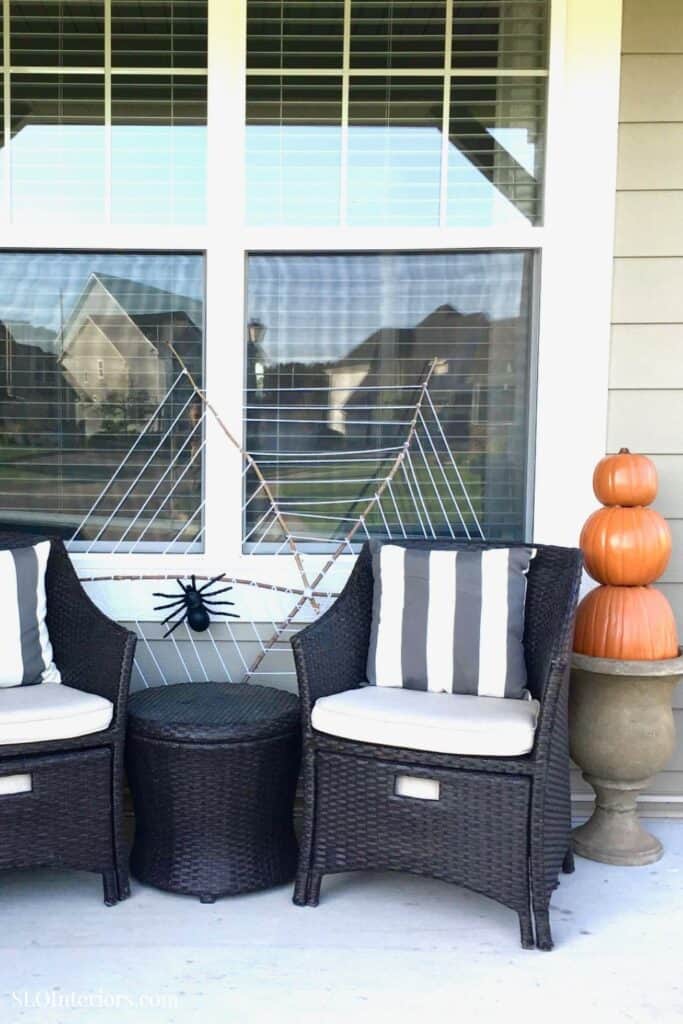
These pumpkin towers work well flanking a front porch or placed on either side of the front door. They add height in a way that feels simple but still noticeable, which is often all a space needs during fall. You can accent the pumpkin stacks with fall leaves or greenery. As the season moves closer to Halloween, keep the pumpkin stacks in place and add a Halloween spider web decoration nearby for a simple seasonal update. Since these hollow pumpkins are light, they can shift or tilt on a windy day, which is something to keep in mind when placing them.
Tips and Variations
This is an easy project to adjust based on your decor. Natural tones and classic autumn colors like cream keep the look classic, but you could also spray paint the stack a bright color or black to work with a different style. You can also make a smaller version for indoor use, which works well in a footed bowl on a table top and adds a simple seasonal detail without taking up too much space.
The Finished Pumpkin Stack Project
As the season starts to shift from summer to fall, having a few simple decor pieces like this DIY helps everything feel more pulled together without needing to rethink your entire approach to fall decorations each year. This pumpkin stack builds on the look of classic fall pumpkins but gives it a bit more structure and presence, so the space feels more intentional. It is an easy way to create a finished fall scene that still feels simple and worth reusing year after year.