
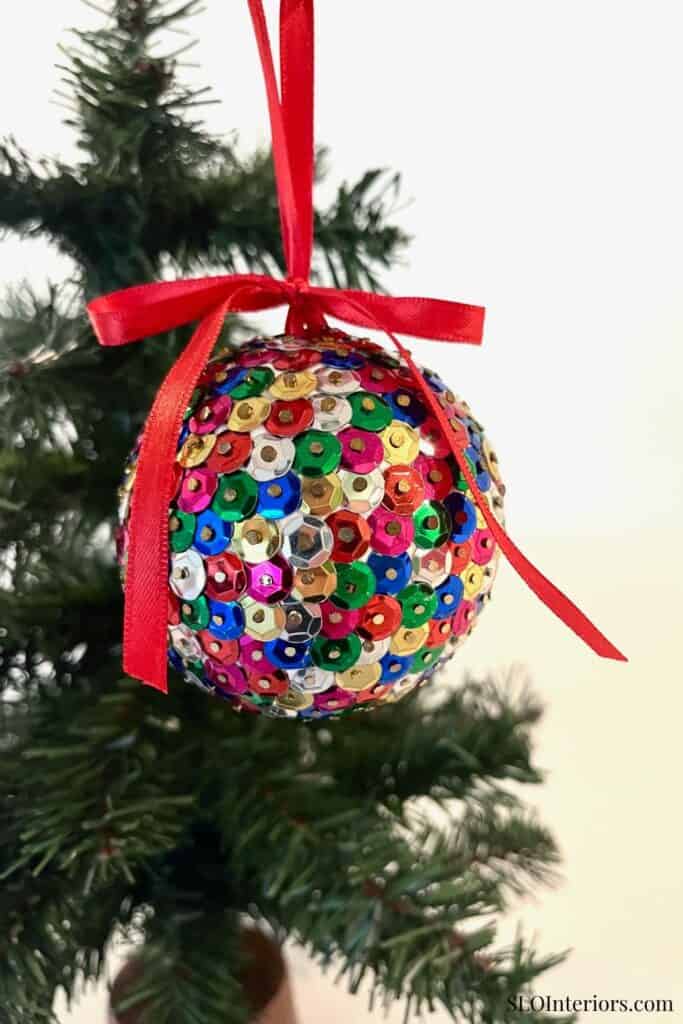
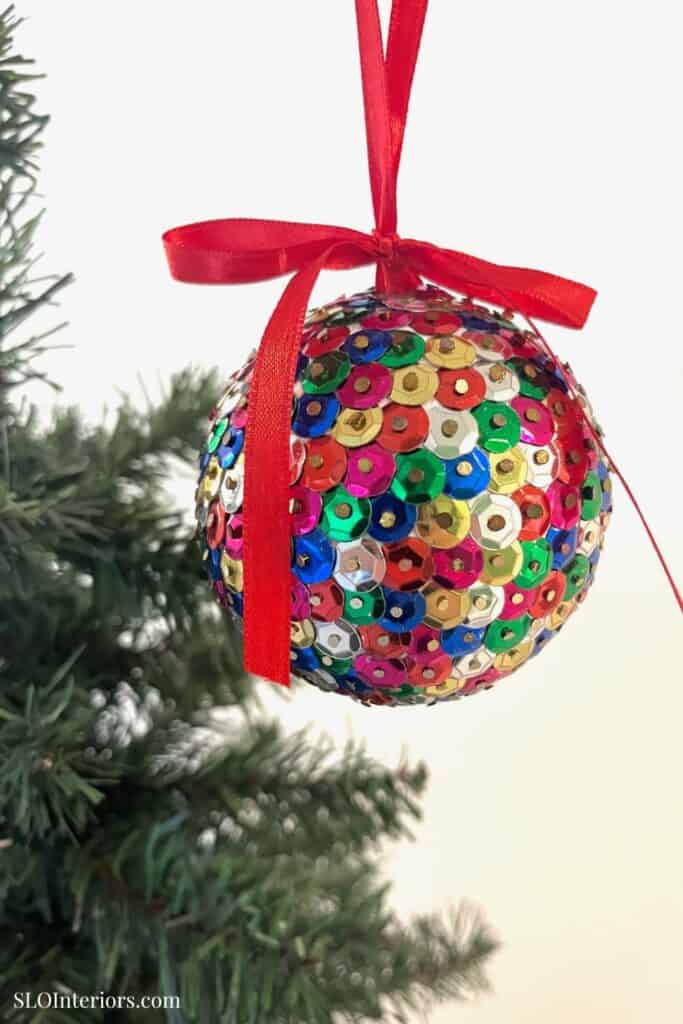
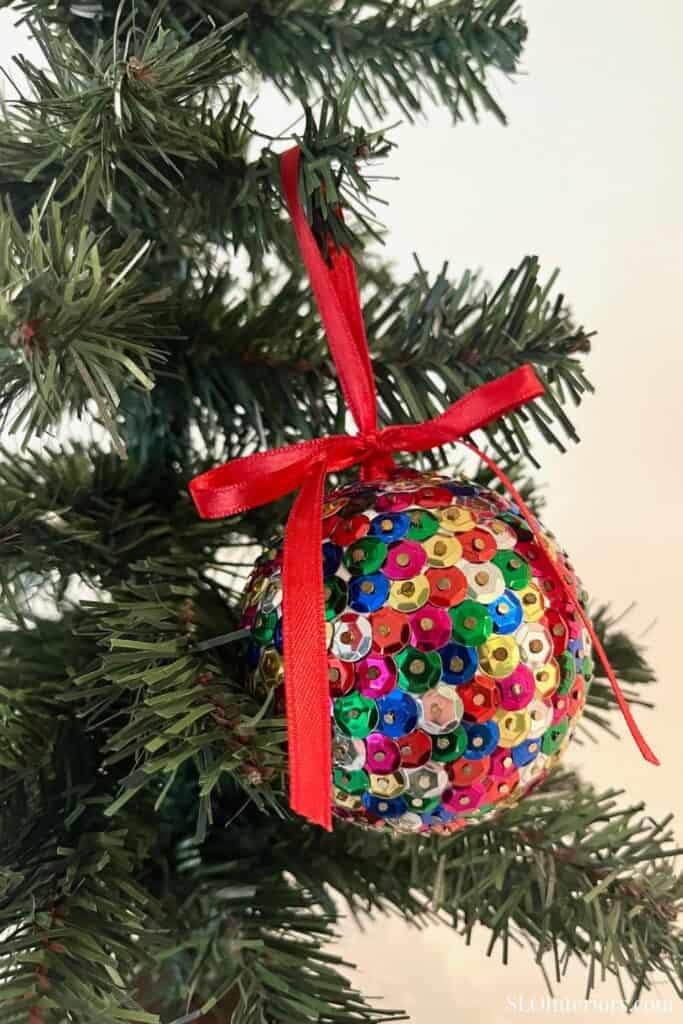
Colorful sequin Christmas ornaments are a classic holiday craft with a vintage-inspired feel. The color and sparkle make them a beautiful addition to Christmas tree decor, and the finished look feels much more detailed than the simple supplies suggest. I love that this project can be worked on slowly in the evenings during the holiday season. It has an easy, repetitive process that feels relaxing, but the final ornament still looks polished, festive, and special.
A Classic Sequin Ornament Project
This project works with any decor or color palette, which makes it easy to tailor to your tree. It is also a DIY you can work on in small blocks of time, whether you are making a few on your own or turning it into a Christmas project with kids. These sequin ornaments are a beautiful addition to an ornament collection because the finished look is detailed and distinctive. Store-bought ornaments with this level of detail are usually very costly.
What You’ll Need
Materials
- Styrofoam Balls (I used 3 inch diameter balls)
- Assortment of sequins
- Gold flat head pins (1 Inch)
- Thin satin ribbon
Tools
- Hot glue gun and glue sticks
Before You Start
Lay out the supplies in small piles before you begin. Since this project may take a few sittings to complete, it helps to choose an area where you can leave everything out. This makes it easy to come back to throughout the day when you have a little time.
How to Make a Sequin Ornament
Step 1: Plan Color Palette
Start by deciding on the color palette before you begin. I used a random mix from a full color sequin pack, but you could also do a solid color or create a pattern. Planning it in advance gives the finished ornament a more intentional look.
Step 2: Start Pinning
Insert the first pin through the sequin hole, then press it into the foam sphere. Make sure the cupped side of the sequin faces toward the ball, since that helps the ornament keep a rounded look as you build it out. After the first few, the process becomes very repetitive.

Step 3: Continue Pinning
Continue pinning sequins onto the foam ball with a slight overlap so none of the foam can be seen through. The overlap gives the ornament a fuller, more finished look. Work in a circular motion around the ball until it is fully covered.
Step 4: Add Ribbon Loop
Cut a piece of thin satin ribbon to create the hanging loop. Secure it at the top with a pin, then add a small dab of hot glue for reinforcement. I tied a small bow around the base of the loop as a decorative detail.
Decorating with Sequin Christmas Ornaments
These ornaments look beautiful hanging individually on an ornament hook, but they have even more impact when made in multiples and added throughout a tree or garland. They also look especially pretty hanging from sconces and other light fixtures, where the sparkle catches the light. Because they take time and care to make, they also make a lovely gift.
Sequin Ornament Color and Detail Ideas
This project is easy to customize, especially with color. You can also add seed beads to the end of the pin before the sequin for extra detail. If you want to create a set, use smaller styrofoam ball ornaments. Different shapes of styrofoam are also available for a unique look.
A Classic Holiday Detail
I love how classic these ornaments look once they are finished. The sparkle and detail give them a more elevated finish, which is part of what makes them so satisfying to complete. They are the kind of holiday DIY decor project I like to settle into at the end of a busy day, with simple supplies and a relaxing, repeatable process. A sequin ornament brings color and sparkle to Christmas tree decor in a way that feels classic and nostalgic, and the finished result also makes a beautiful gift.