
A felt banner is a simple way to make a child’s space feel more personal. It adds color, charm, and a custom detail that feels playful while still working with the rest of your decor. Whether you hang it in a bedroom, a playroom, over a lemonade stand, or use it for a birthday party, it is the kind of handmade piece that feels both fun and thoughtful.
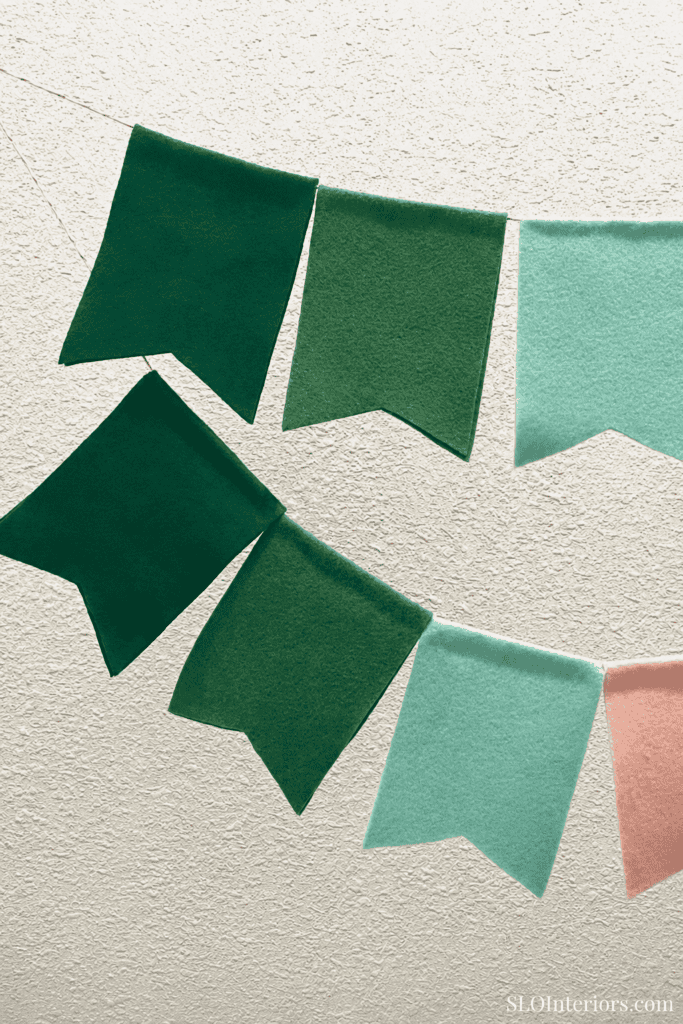
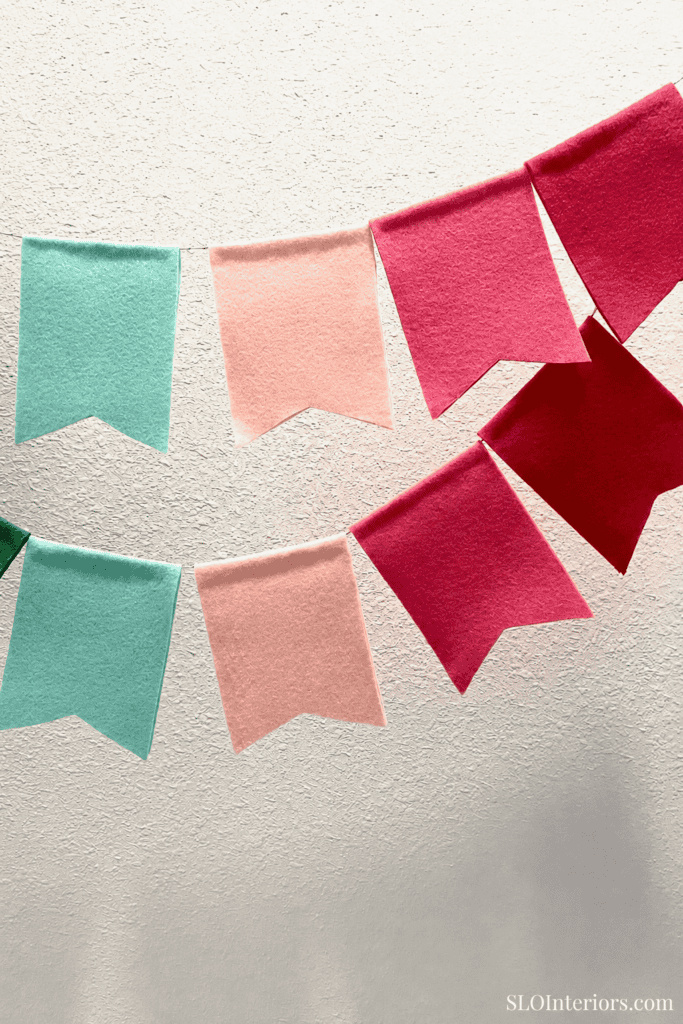
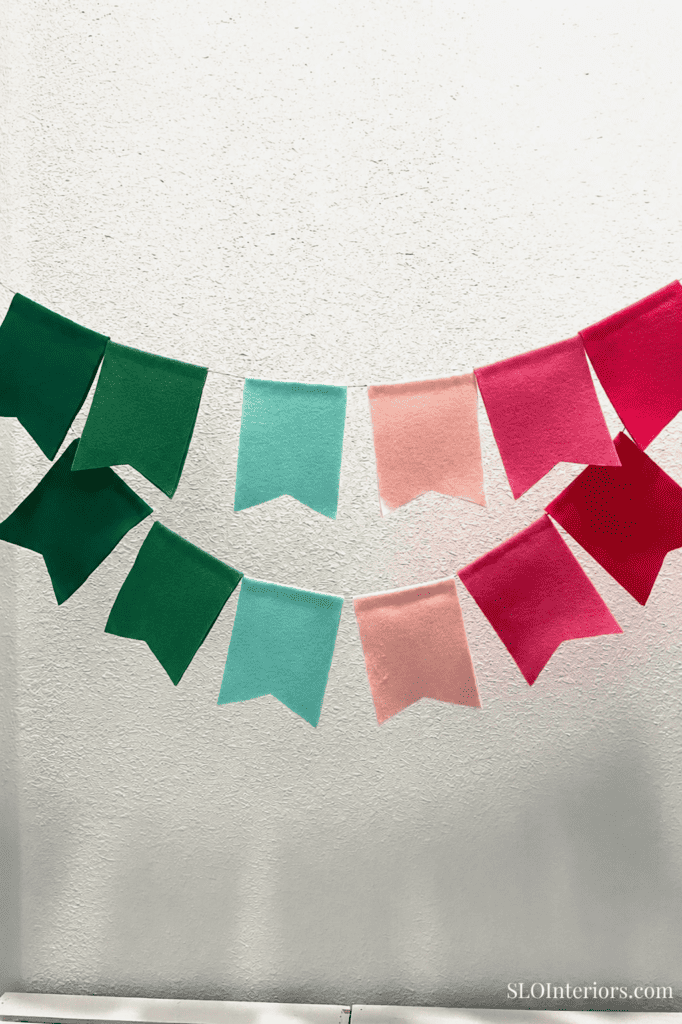
One of the nicest parts of this project is how customizable it is. You can choose your own color palette, whether that means soft, subtle shades or something brighter and bolder. I used various shades of pink and green, but there are so many beautiful banner colors to work with, including shades of blue, warm neutrals, or a mix of tones that suits your home.
A Simple Felt Banner for Kids Decor
This DIY kids banner is a sweet way to add personality to a room, play area, or party setup. It adds a simple handmade detail that makes the space feel more fun without looking overly themed. It is also a nice option if you want children’s decor that coordinates with your color palette or personal style.
This project is also flexible enough to use in several different ways. You can make it for a bedroom, a play kitchen, a reading nook, a birthday party, or even a lemonade stand during the summer. While the cutting takes some time, the finished banner feels polished enough to make the effort worthwhile.
What You’ll Need
Materials
- Assorted felt sheets in colors that coordinate with your decor
- Bakers twine
Tools
- Pencil
- Sharp fabric scissors
- Hot glue
Before You Start
Before you begin cutting, arrange your felt sheets in the order you want them to hang. This gives you a chance to see how the colors work together and decide whether you want a pointed flag, a trimmed shape like mine, or a straight bottom. Making those choices first keeps the rest of the process easier and helps the finished banner feel more cohesive.
When it is time to assemble everything, use a large flat surface like a table, counter, or floor. Having enough space makes it easier to line up the flags, check the spacing, and keep the banner straight as you glue everything together. It also gives you room to adjust the layout before anything is attached permanently.
Step 1: Choose the Shape and Size of Your Flags
Fold one felt sheet in half and use the folded edge as the top of your flag. This fold will later create a natural channel for the baker’s twine, which keeps the assembly simple and neat. Cut your first flag from the folded felt so it stays double thickness and can be used as a template for the rest.
Step 2: Trace and Cut the Remaining Flags
Fold the rest of your felt sheets and trace your template onto each one until you have enough flags for the length of your banner. Once they are all cut, lay them out on a flat surface in order. This makes it easier to check the spacing, color arrangement, and overall look before moving on.
Step 3: Assemble the Felt Banner
Lay all the flags out in order, then open each one along the fold so you can see the inside. Place a long piece of baker’s twine across the fold of each flag, run a strip of glue below the string, and press the felt closed to create a small channel. Repeat this process for each flag, leaving enough twine on both ends for hanging.
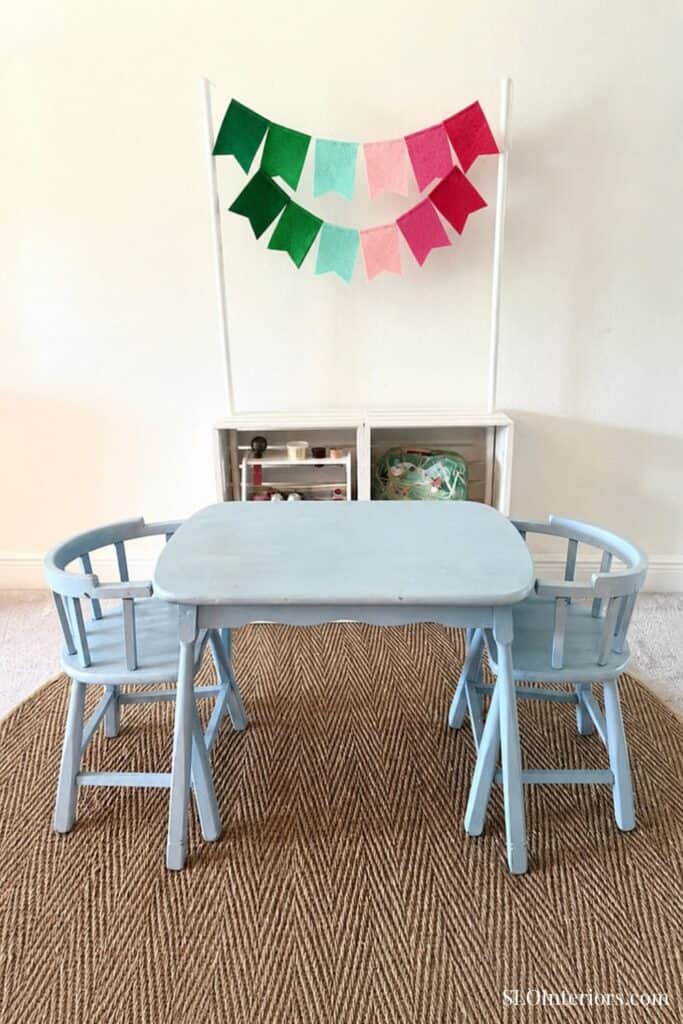
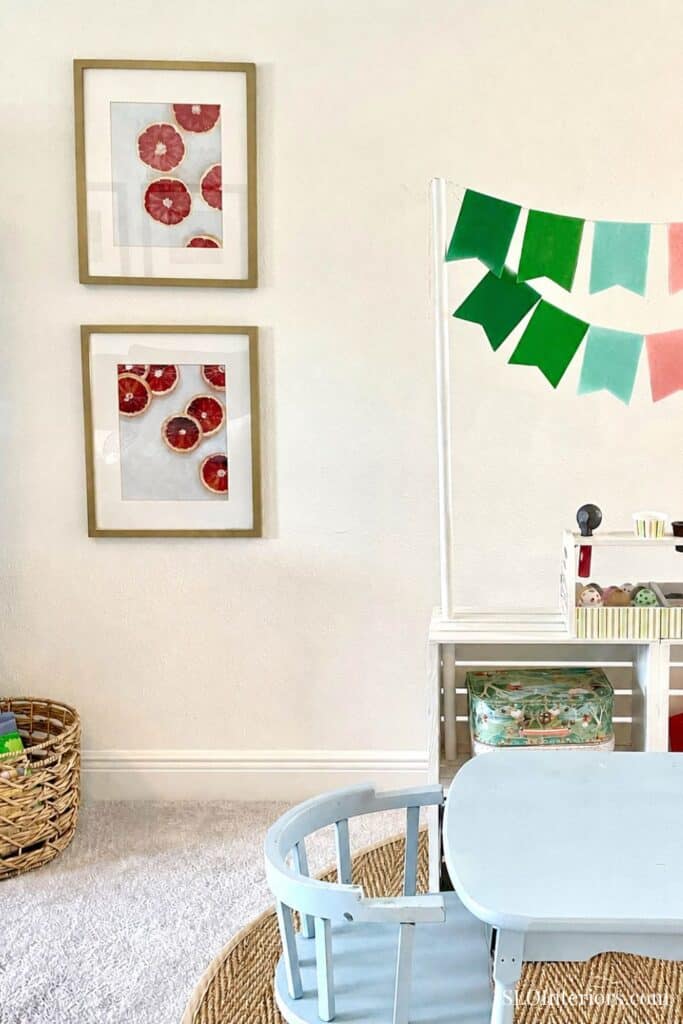
Styling the Felt Banner
This banner works beautifully in all kinds of kids spaces because it adds personality without feeling too busy. It is a natural fit for a bedroom or playroom, but it would also be sweet in a reading corner or as part of a pretend play setup like a lemonade stand. I currently have this banner in the play area in our bonus room, which you can see more of in my colorful coastal bonus room decor ideas. The handmade detail makes it feel fun for kids, while the felt keeps the look soft and simple.
With the right colors, the banner can also feel like part of the room instead of a temporary party decoration. Choose shades that connect to the rest of the space, and it can stay out long after a birthday, playdate, or seasonal setup is over. That makes the project feel more useful and gives the finished piece a little more staying power.
Customizing the Felt Banner
A banner in one color works well if you want the finished piece to feel simple and understated. You can also change the look by adjusting the flag shape, making the pieces taller or narrower, or choosing a pointed or straight bottom. For a more personal version, add a child’s name or monogram use a letter style that fits the space. If you are using several colors, choose shades that repeat in the room or stay within the same general palette. Keeping those choices edited helps the finished banner feel more polished.
A Simple Felt Banner for Kids Spaces
The finished felt banner feels cheerful, personal, and polished in a way that can be hard to find in kids decor. It brings color, softness, and a handmade detail into a space while still feeling neat and intentional. A banner like this can start as party decor, then move into a nursery, bedroom, or playroom afterward. With the right colors and a simple shape, it becomes a decor piece instead of a temporary item. It is a simple piece to reuse as your child grows.