
A fresh fall wreath for the front door is one of the easiest ways to make an entry feel ready for the fall season. This time of year is busy, especially once back-to-school routines begin, so I am always drawn to simple updates that add color and character without creating too much extra work. This wreath project has a classic shape, a cheerful pop of red, and just enough personality to feel fresh for a new season.
One of the things I like most about this wreath is its clean take on traditional fall decor. Many seasonal designs rely on muted florals or rustic accents, but this one feels more polished and focused. The glossy apples and rich magnolia leaves create a look that is timeless, distinctive, and easy to bring out year after year.
A Fall Wreath With Crisp Color
This project is simple to make. It uses only two main materials, the steps are quick, and the finished result looks more impactful than you might expect from such an easy project. If you enjoy decor that feels classic with a little twist, this is a great way to bring in fall without overcomplicating your entry.
Besides it’s simple design, this DIY wreath is also affordable, which always makes a seasonal project more appealing. The fruit adds a fun pop of color, while the greenery keeps the overall wreath design grounded and versatile. The result is a seasonal wreath that feels bright and crisp, but still refined enough for a more tailored home.
What You’ll Need
Materials
- Magnolia wreath base or another leafy green base
- Faux apple bunches
Tools
- Floral wire
- Wire cutters
Before You Start
Before assembling the wreath, take a moment to look over the base and think about where the apples will sit best. A looser greenery wreath works especially well because it gives you more room to tuck in stems and hide wire. If the base is too dense, the fruit can be harder to attach and may sit awkwardly once finished. It also helps to separate the apple stems before you begin so the placement feels more balanced and intentional as you build the wreath.
How To Make It
Step 1: Place The Apples
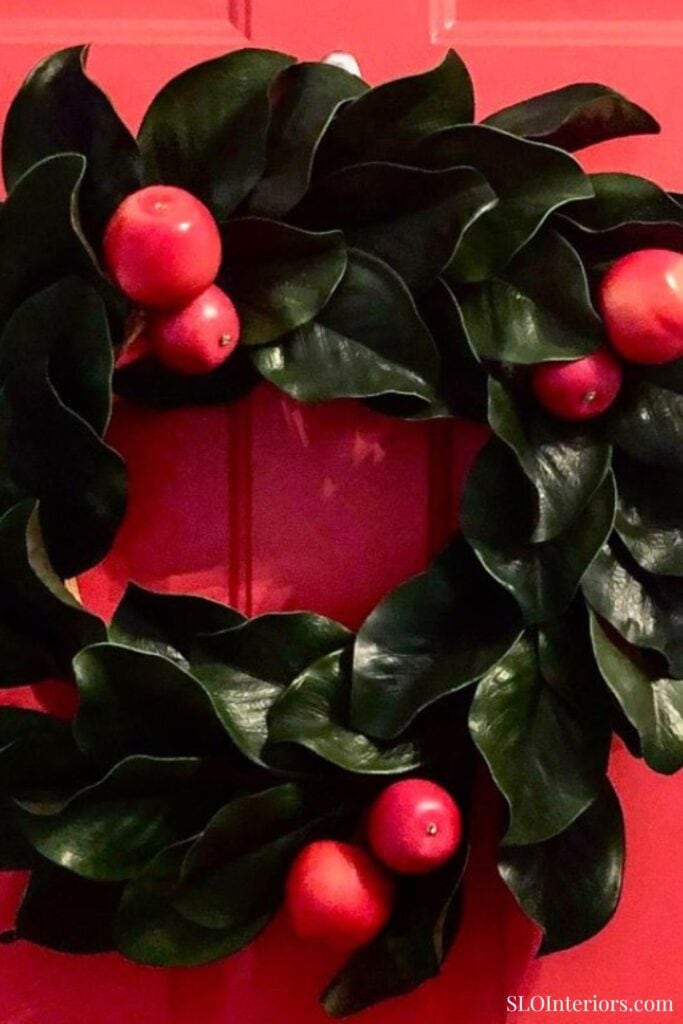
Start by laying the apples on the wreath base before attaching anything. I like to spread them out so the color feels evenly distributed, with strong contrast against the deep green leaves. You could also cluster them toward the top or along one side if you prefer a more directional look.
This step shapes the overall feel of the wreath more than you might expect. A little space between each stem keeps the arrangement from feeling crowded, and it allows the base to show through in a way that highlights the natural elements. That balance is what helps the wreath feel crisp rather than busy.
Step 2: Attach The Apples
Once you like the placement, cut short pieces of floral wire and wrap each one around an apple stem. Tuck the stem into the base, attach it to the vine structure, and twist the wire at the back much like a twist tie. Then hide the ends so the finished piece stays neat and secure.
Try to nestle the apples beneath the foliage a bit rather than letting them sit too far forward on top. That small detail helps them feel integrated into the wreath instead of simply added after the fact. The finished look is clean, secure, and surprisingly substantial for such a simple craft.
Style It For Fall
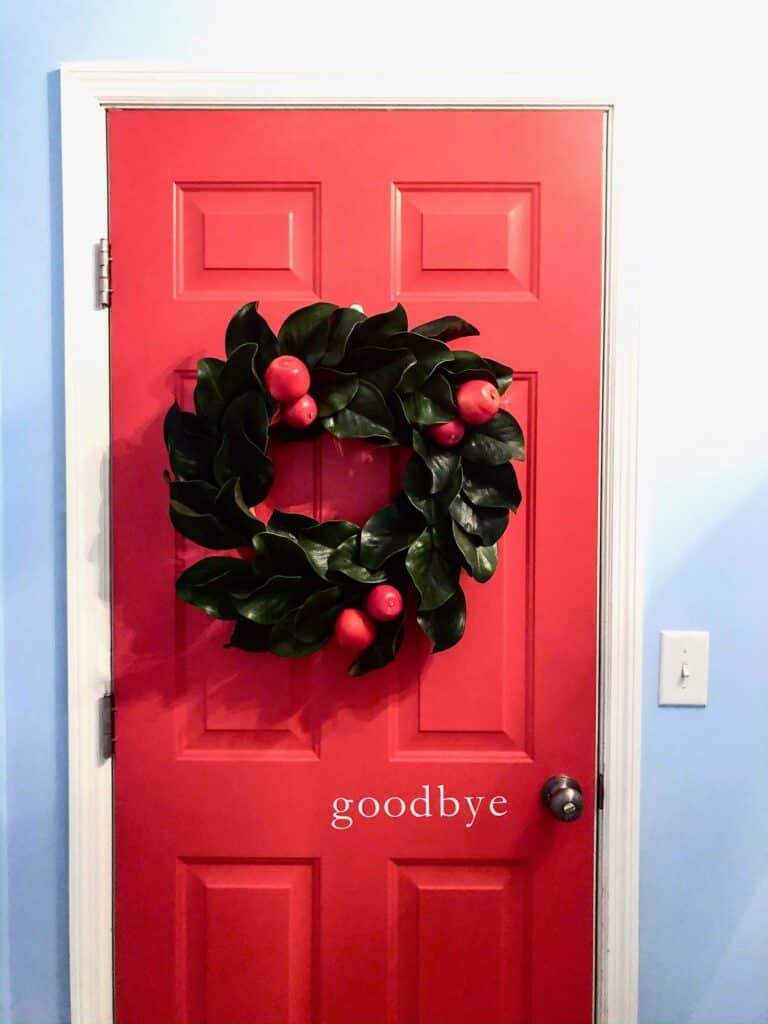
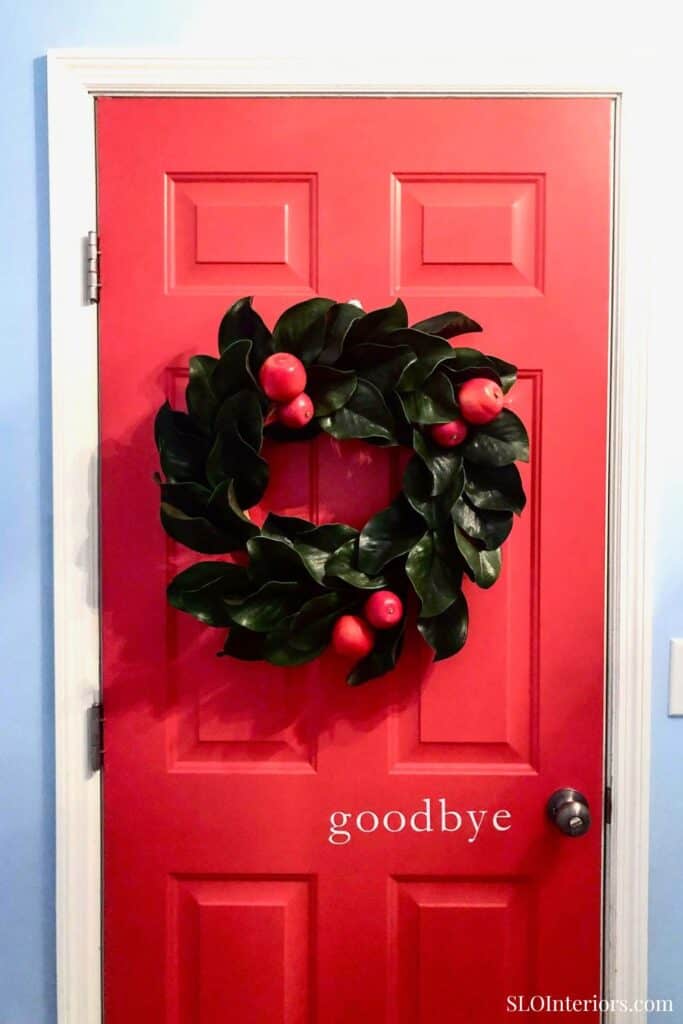
This project makes a lovely fall wreath for front door accent because it has color, shape, and just enough novelty to stand out. It works especially well on a front porch with neutral colors, painted brick, or darker doors where the red fruit can really pop. The result is a beautiful wreath that adds seasonal charm without needing much else around it.
For a fuller entry, pair it with a few simple pumpkins, lanterns, or understated planters. It can easily stand on its own, but it also looks beautiful with layered front door decorations if you want a more styled entry. Among fall door wreaths, this one feels especially crisp because the apples bring in fall colors in a way that still feels classic.
Tips And Variations
You can swap the magnolia base for another wreath if you prefer, though something airy with looser leaves will works best. A dense boxwood form can be harder to wire through, while a looser base gives you more freedom to adjust placement. This is a project where the structure really affects the ease of the build.
The apples can also be replaced with pears, small pomegranates, berries, or florals for a different look. Tailor the project to your own decor inspiration, whether you want something softer or more colorful. I also think this makes a lovely indoor accent, especially on a mudroom door or the door leading from the garage into the house.
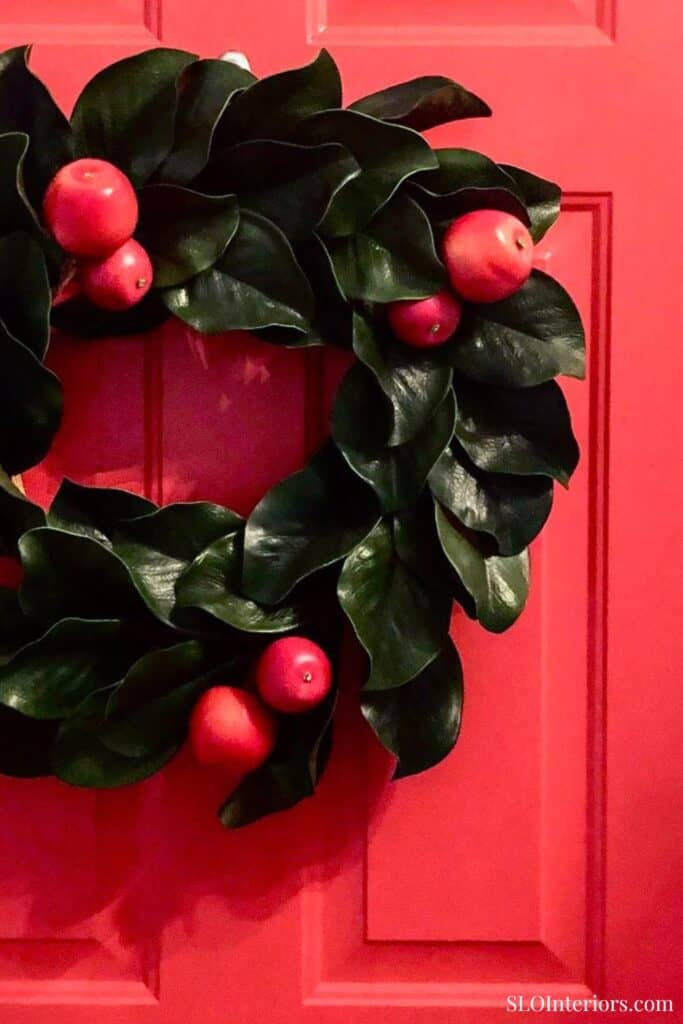
The Finished Wreath
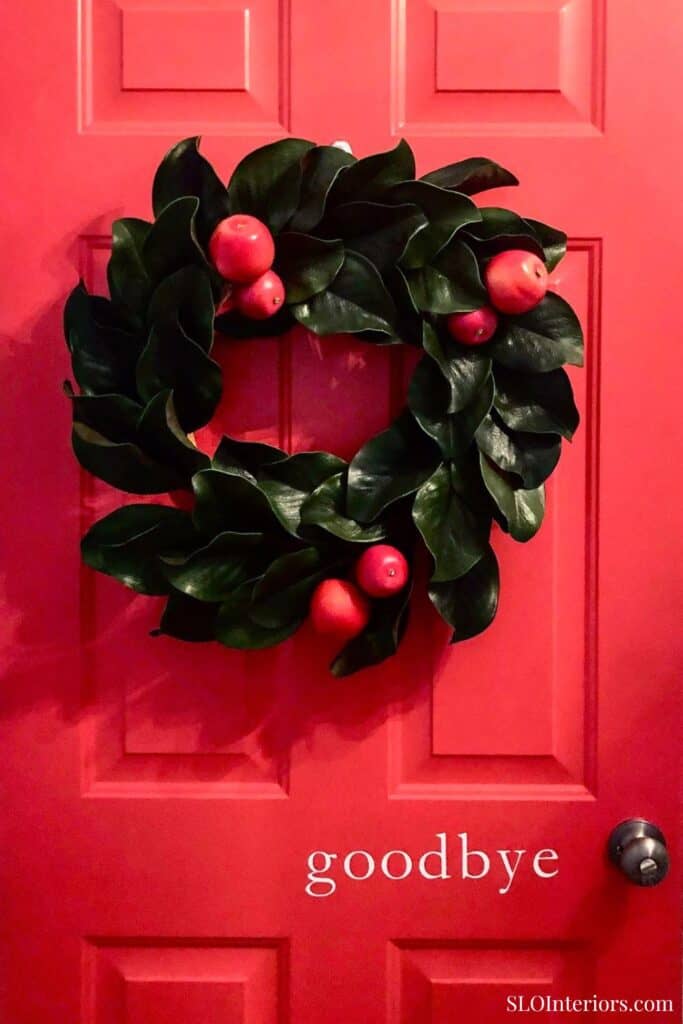
What makes this fall wreath work so well is the balance between simplicity and impact. The magnolia base brings in structure and richness, while the fruit adds a brightness that feels cheerful without becoming too playful. It is a basic leaf wreath with a little extra personality, which makes it especially nice for early fall when you want decor to feel fresh. The color palette is also easy to live with, since it works well with a range of exterior finishes, and the classic shape is one you can revisit year after year. If you are looking for a gorgeous fall wreath that feels polished but still approachable, this is a strong option.
A Classic Look For The Season
This fall wreath DIY is a simple update with a lot of impact. The magnolia base gives it the feel of a classic wreath, while the apples add a bright accent that makes it memorable. It feels especially fitting for the start of fall, when a home benefits from a little color and a little softness at the entry.
What I like most is that it captures the season in a way that still feels composed. It is affordable, quick to assemble, and flexible enough to adapt to different homes and styles. If you are looking for a perfect statement piece for the season, this is a polished take on fall decor that carries from early autumn well into the weeks ahead.
More Fall Projects
- [Related Post 1]
- [Related Post 2]
- [Related Post 3]