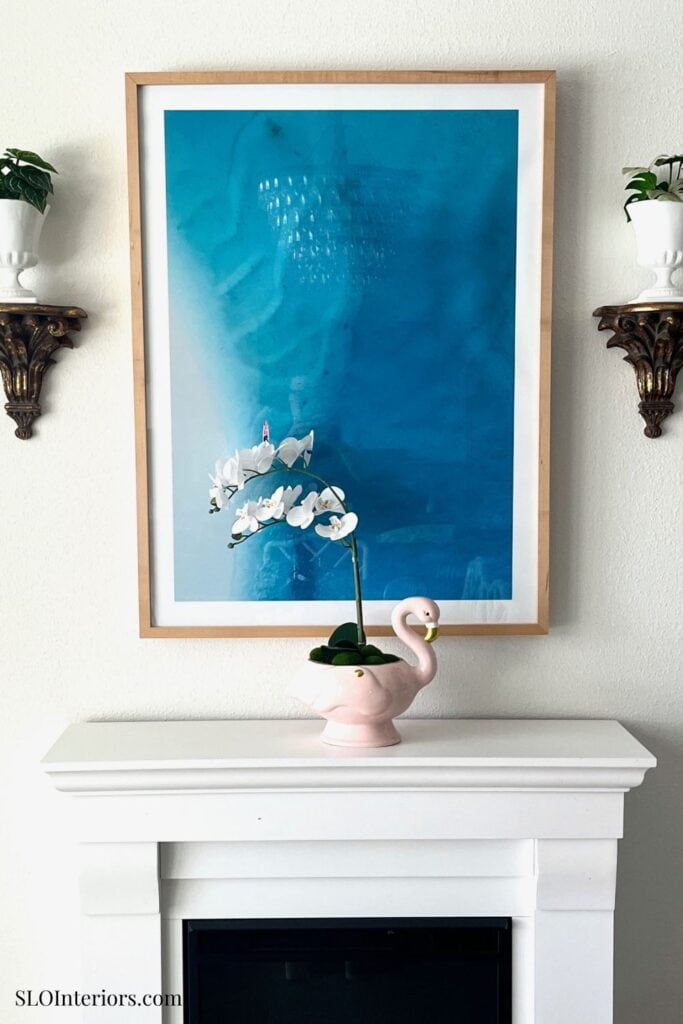
An orchid centerpiece is one of my favorite ways to dress up a spring table. This is the season when I feel most inspired to decorate because I love the soft color, fresh details, and lighter mood that comes with spring. This year, I wanted to create something that felt polished and a little unexpected, so I landed on a faux orchid design with a flamingo pot that adds personality.
The overall shape of this centerpiece is classic, the white blooms feel timeless, and the soft pastel vessel gives it a simple wash of color that still works beautifully in a refined home. On my table, it feels like the perfect blend of classic, coastal and colorful style. It has just enough charm to make it memorable for Easter, spring gatherings, or everyday use.
A Fun Twist on Classic Style
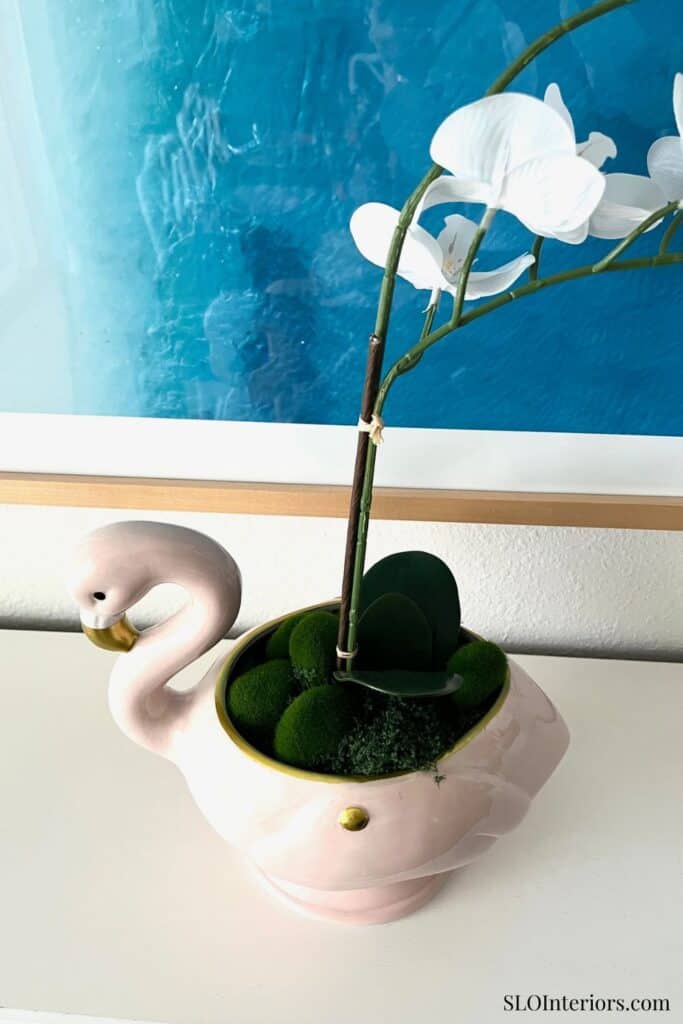
This project has the kind of impact that makes people assume it was purchased from a boutique shop. The vessel, which is actually a soup tureen, gives it a custom look, and the flowers bring in that familiar elegance that always works in spring decorating. It has personality, but it still feels clean enough for a more tailored home.
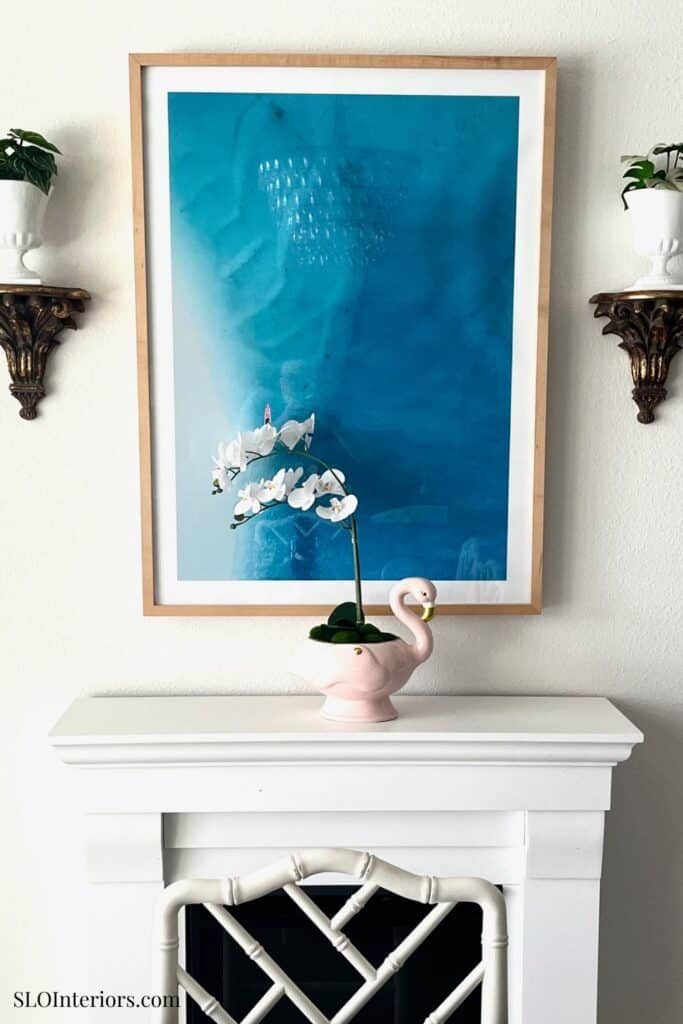
I also love that it walks the line between classic and fun. A graceful white orchid already has such a polished shape, so pairing it with a more playful base keeps the arrangement from feeling too formal. The finished piece works as a centerpiece for seasonal tablescapes, but it is also easy to move to a console table, mantel, or shelf once the holiday table is cleared.
What You’ll Need
Materials
- Floral foam
- Assorted moss stones
- One bag of artificial moss
- Small potted orchid or orchid stems
- Vase, urn, or footed bowl for the arrangement
Tools
- Scissors to trim moss
- A dull knife to cut floral foam
- Wire cutters to trim floral picks or each orchid stem
Before You Start
I recommend building the arrangement directly on your dining table or on the surface where you plan to use it. That makes it much easier to judge the height, width, and spacing before the rest of the table is styled. It also helps you decide whether the vessel feels balanced with chargers, candles, and any other spring details you plan to add.
This is especially helpful when you are working with a statement container. A design like this should feel noticeable, but it should never block conversation or crowd the table. Seeing it in place from the beginning makes the whole process feel more intentional and gives you better display ideas as you go.
How To Make An Orchid Centerpiece
Step 1: Prep The Vessel And Foam
Start by setting all of your supplies beside the vessel so everything is easy to reach. Trim the floral foam into a piece that fits securely inside the bowl or container, then press it into place. If you are using a small potted orchid, tuck floral foam around the pot to fill any visible gaps and give the base a cleaner fit.
This first step is what gives the arrangement structure. Once the base is snug, the rest of the design comes together very easily. It also gives you a sturdy foundation whether you are using faux stems or an existing potted plant.
Step 2: Build A Moss Base
Cover the top of the foam with artificial moss, using enough to hide the foam without making the surface look bulky. Then add moss stones around the edge to build texture and soften the transition between the flowers and the vessel. This detail gives the arrangement a fuller look and helps it feel closer to natural floral arrangements.
The contrast in materials is part of what makes the design feel elevated. The moss adds softness, while the stones bring in a subtle structure that looks especially pretty in a modern room. Even though the project is simple, these details give the final flower arrangement much more depth.
Step 3: Add The Orchid Stems
Place the orchid stems toward the center so the blooms become the natural focal point of the design. If you are using a potted orchid, the plant will already be in place, so this step is more about adjusting the moss and stones around it. Walk around the arrangement as you work so you can check the balance from every side.
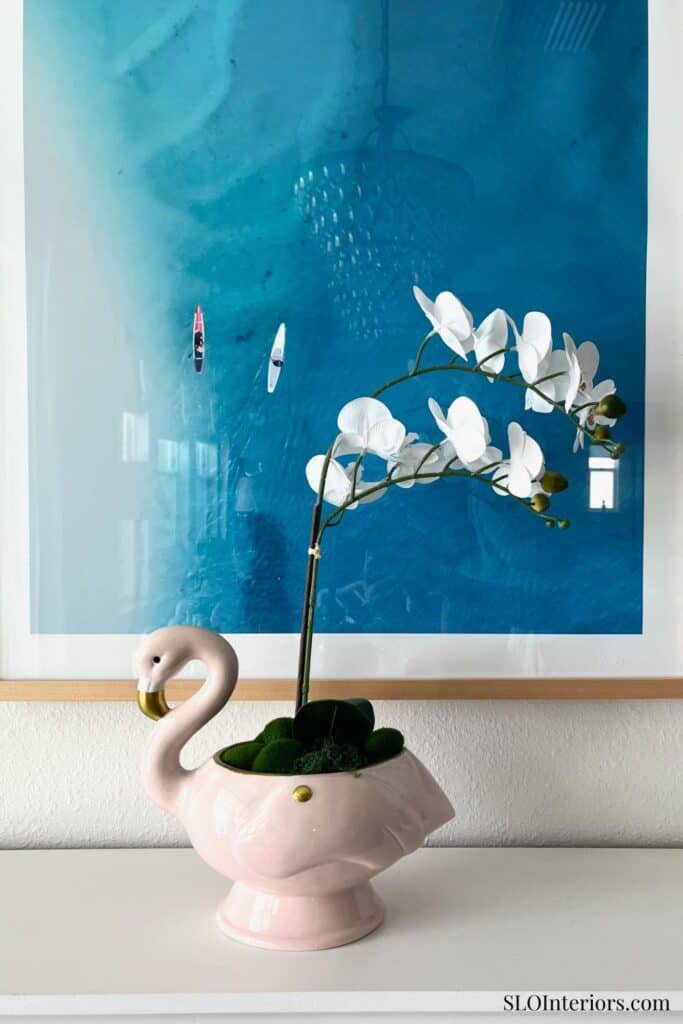
This is where the shape really comes to life. A white orchid centerpiece naturally has a tall, airy silhouette, so it helps to keep the stems grouped in a way that feels full but not crowded. Once the flowers are placed, the arrangement has that finished touch of elegance that makes a spring table feel complete.
Styling And Use Ideas
One of the best things about this project is how easy it is to use beyond a single spring holiday. It looks beautiful on a seasonal table, but it can also move easily to a console, sideboard, or shelf once the table is cleared because the soft palette and classic white orchid do not feel tied to just one moment. It is also practical to save and restyle year after year, since the materials can be taken apart, stored, and assembled again with a different vessel or a few updated accents, which makes it a thoughtful DIY that feels special without requiring a big spend.
Tips For Variations
One of the nicest things about this project is how easy it is to customize while still keeping the overall look classic. A white orchid gives the arrangement a timeless feel, but the vessel, moss, and surrounding details can all be adjusted to better suit your home or the season. A pedestal bowl, small urn, or woven container can each shift the mood in a slightly different direction, which is part of what makes this DIY so useful year after year, especially when you want something affordable that still feels custom and well considered.
The Finished Look
The finished arrangement feels polished, personal, and a little unexpected, which is exactly what makes this project so appealing for a spring table. The combination of the orchid blooms, moss, and pastel vessel gives it a thoughtful look that feels collected rather than generic, with enough presence to stand out while still fitting naturally into a home with classic coastal influences. It adds charm, color, and personality in a way that still feels refined, which is why it works so well as a spring centerpiece. If you are looking for a spring project that feels creative without being complicated, this is a very pretty one to try, and it is the kind of centerpiece you can enjoy year after year.