
This DIY wall mirror is a beautiful solution for a large open wall that feels difficult to decorate. The project comes together with basic supplies and can be customized to fit the scale of your space. It is an especially good option if you have searched for wall art in stores but have not found anything that feels timeless enough to keep up year after year. The finished piece makes a statement while still blending easily with a range of decor styles. Oversized decorative mirrors can cost hundreds of dollars in stores, but this version is made with dollar store mirrors.
What You’ll Need
Materials
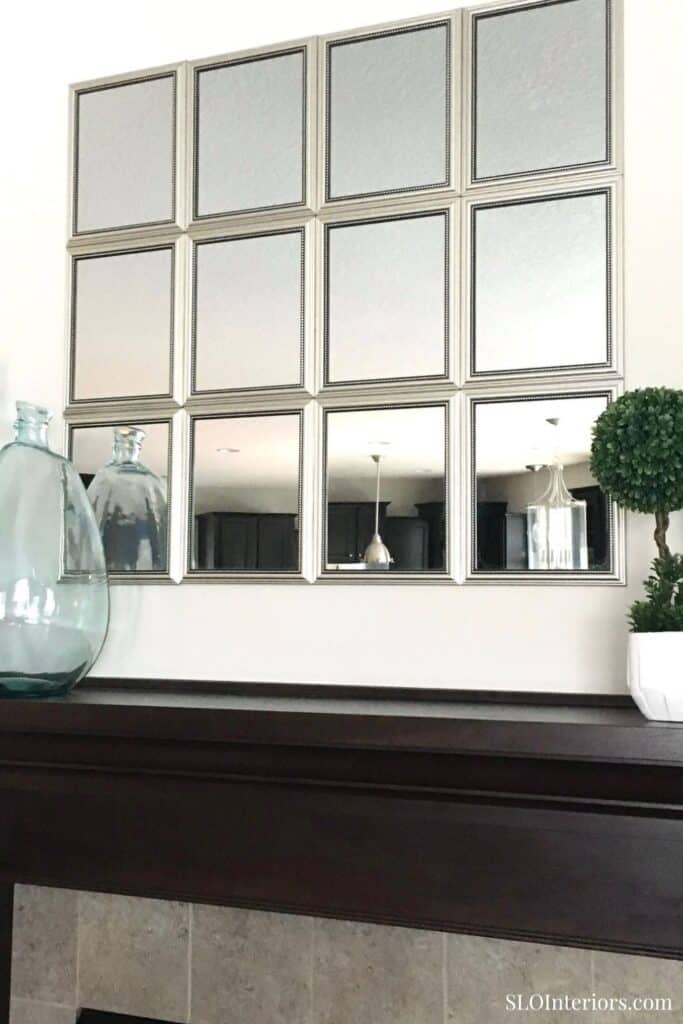
- 12 matching 8×10 mirrors
- One roll of duct tape
- 3M Velcro hanging strips
Tools
- Scissors for cutting the duct tape
Before You Start
Before you purchase your mirrors, measure the wall space you want to fill so you can buy the right amount. Clear a large work area before you begin, since you will need room to move around the project as you assemble it. Make sure the space is big enough to lay out all of the mirror panels and reach each side easily. I put mine together on the large carpeted floor in my family room.
How to Make the Wall Mirror
Step 1: Lay Out All of the Mirrors
Arrange all of the mirrors face down in a grid pattern. Set them up exactly the way you want them assembled before moving on to the next step. This helps you confirm the spacing and overall shape before anything is secured together.
Step 2: Tape the Mirrors Together
Working either row by row or column by column, tape the mirrors together at each seam with long pieces of duct tape. It helps to focus on all of the vertical seams first and then move to the horizontal seams, or the other way around. If the tape twists or sticks to itself while you work, cut it off and start with a fresh strip. Keep going until all of the seams are secured and the full mirror panel is held together.
Step 3: Attach the Velcro Strips to the Mirror
Attach four large 3M Velcro strips to the back of the assembled mirror panel. Place one strip near each corner so the wall side of the Velcro is facing outward and ready to attach to the wall.
Step 4: Attach the Velcro Strips to the Wall
You may want a second person to help with this step. Lift the assembled mirror and press it to the wall so the wall side of the Velcro sticks in place. Once the wall Velcro is in place, separate it from the Velcro on the mirror and take the mirror back to the floor. Press the wall Velcro strips firmly into place to ensure a secure hold. Do not hang the mirror without securing the wall Velcro strips first.
Step 5: Hang the Mirror
Once the wall Velcro strips are secure, lift the assembled mirror and press it into place so the Velcro connects. Dollar store mirrors are light enough that the 3M strips hold the finished piece securely.
Styling a Classic Wall Mirror
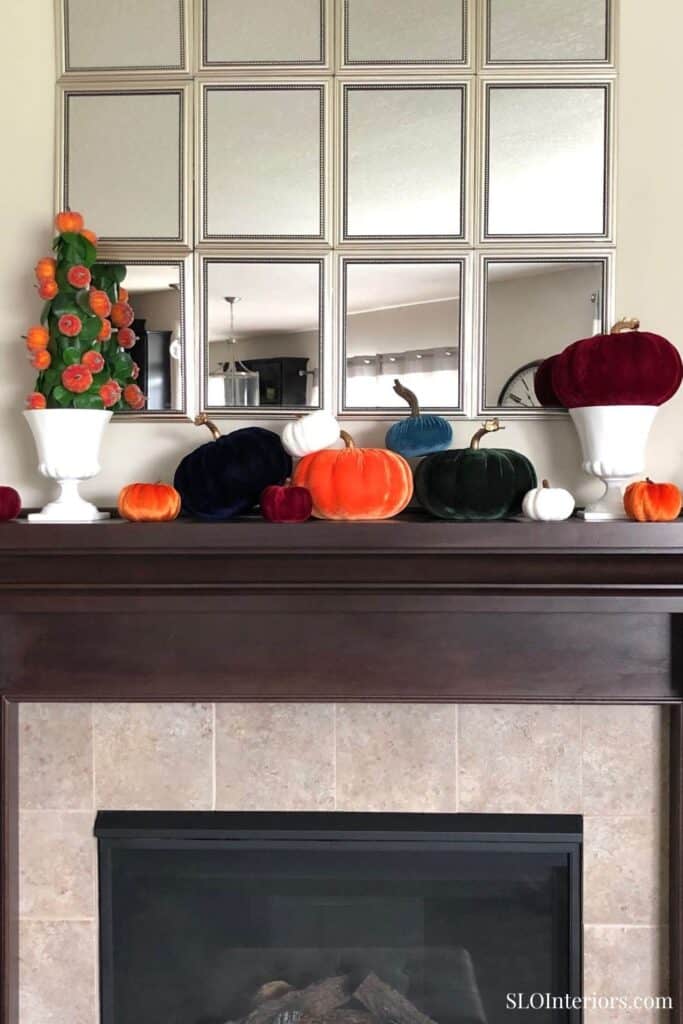
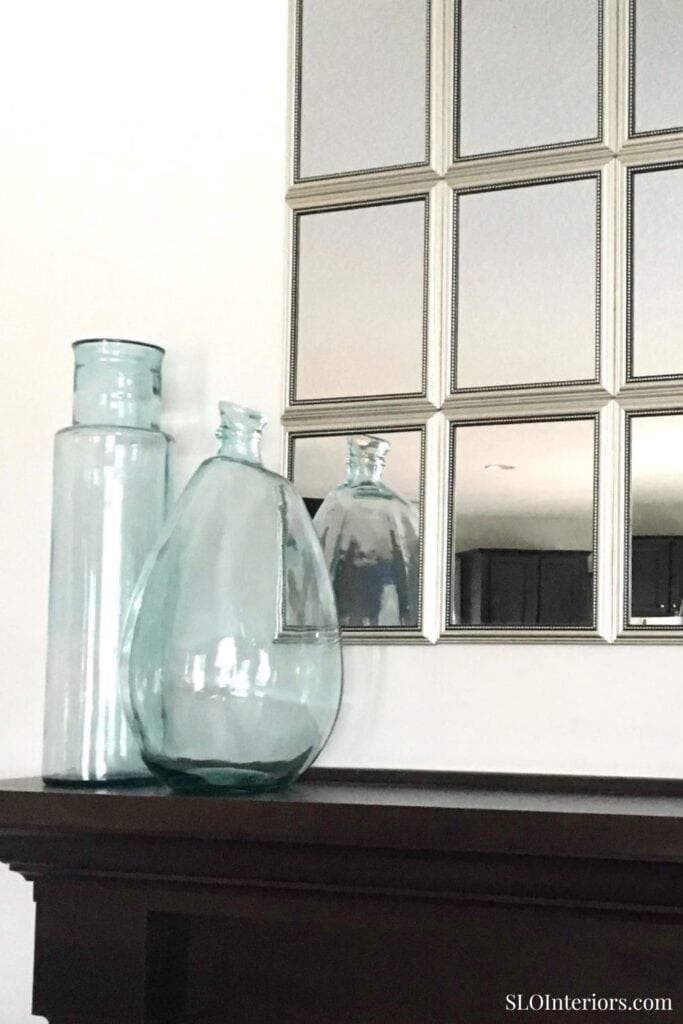
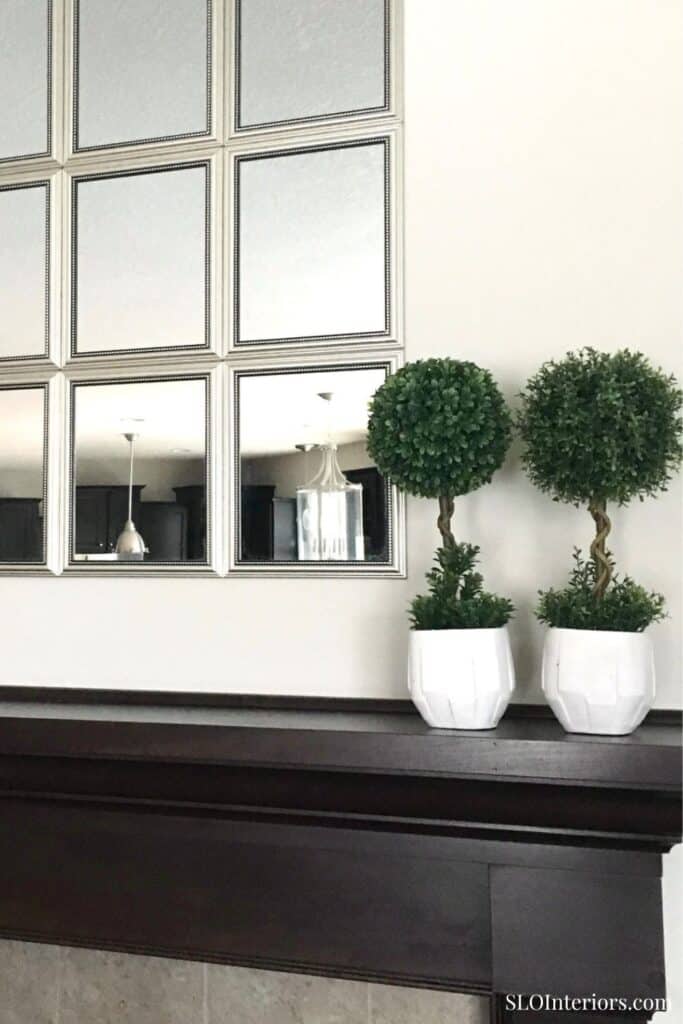
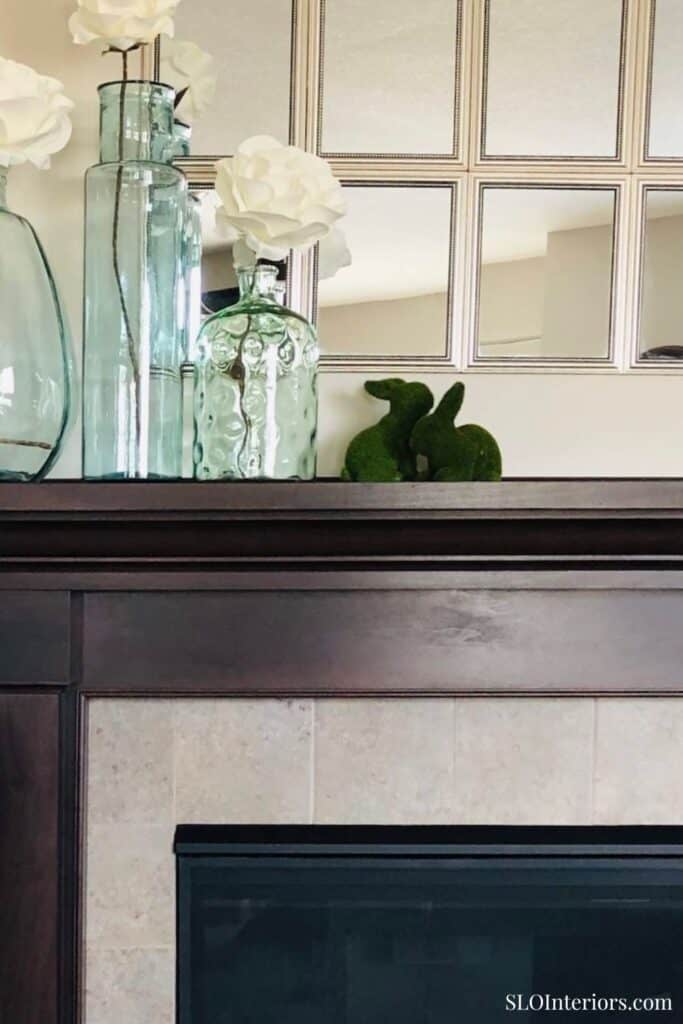
This simple wall mirror decor adds classic style to a room while helping fill a large wall in a way that still feels timeless. A grouped mirror arrangement can brighten the space, reflect light, and bring more shape to a plain wall without relying on traditional artwork. Because the design is simple, it works well with a range of interiors and does not feel like something that needs to be replaced as styles change. Whether used above a console table, in a dining room, or on a large wall that needs more presence, this mirror creates an elegant focal point with a classic look. For another take on using wall mirrors as large focal wall decor, my modern and vintage mirror accent wall shows how to fill a wall with a collected mix of decorative mirrors.
A Timeless Home Decor Piece
This DIY wall mirror is a simple way to bring style and structure to a large wall. It looks beautiful over a mantel like mine, but it would also work well in a dining room, entry, or living room. For home decor with a polished look at a much lower cost, this project gives you the scale and style of a store-bought piece without the same price. The mirror also leaves room to style the surface in front of it in different ways throughout the year. It is a classic piece that adds presence without feeling tied to a passing trend.