
Oyster shell decor is such an easy way to bring coastal decor into your home. It turns a simple natural element into something polished enough to display, gift, or use every day around the house. If you love decor that feels pretty, personal, and tied to the coast, this is an easy project to make.
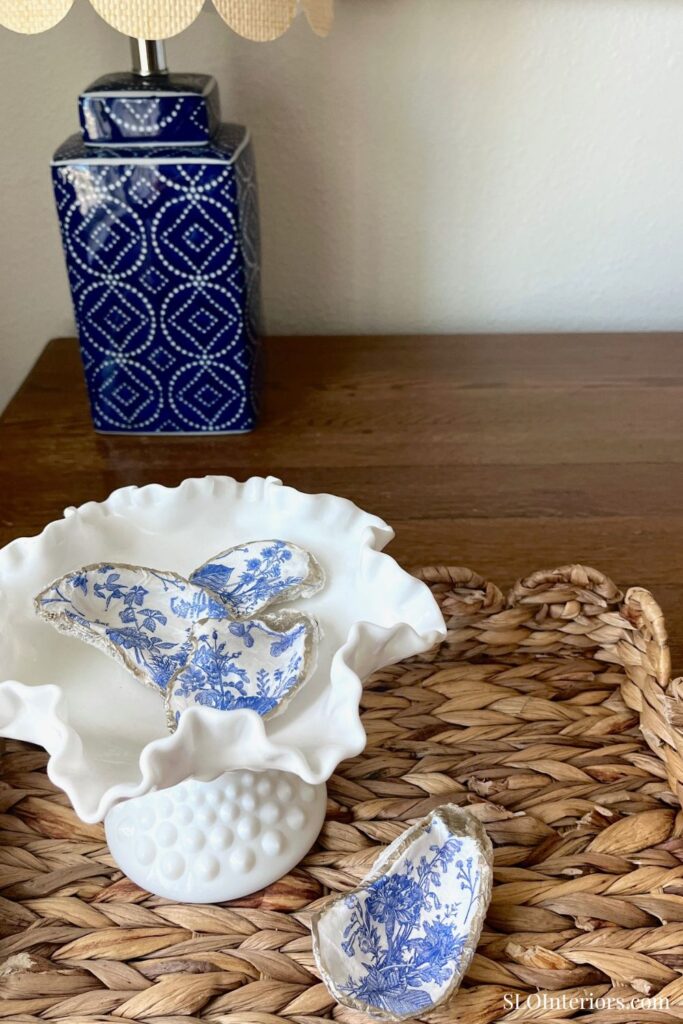
These shells can be styled as accents on a coffee table, tucked onto a bathroom counter, or used as small ring dishes on a nightstand. They also make lovely gifts because they feel personal and customizable. Oyster shells naturally bring in that relaxed coastal character, and this project gives them a more finished, decorative look.
A Simple Coastal Decor Project
This project is simple, but the finished result looks special. The materials are easy to find, the steps are easy to execute, and each shell has its own character. Even if you are not especially crafty, this is a very approachable DIY.
It is also flexible enough to suit different styles and uses. You can choose patterns that lean playful, collected, or traditional. Once finished, these shells become unique items that work as decorative accents, ring dishes, or thoughtful gifts for a special occasion. For other ways to bring coastal style into your home, these coastal home decor ideas focus on simple updates with the same timeless feel.
What You’ll Need
Materials
- Oyster shells
- Mod Podge
- White acrylic paint
- Gold leaf paint
- Cocktail napkins
Tools
- Foam brushes or paint brushes
- Cookie sheet or tray
Before You Start
Before you begin, lay the oyster shells out on a cookie sheet or tray so everything is easy to see and reach. It also keeps the mess contained while paint and sealer dry.
I like to work in batches rather than finish one shell at a time. Complete the first step on all the shells, then move on to the next step once they have had a bit of dry time. That method makes the process feel smoother and helps create a more consistent finish.
How to Make Oyster Shell Decor
Step 1: Paint the Shells White
Using white acrylic paint, coat the inside of each shell to cover any dark spots or natural variation. You want the interior to have a fairly even white finish so the napkin pattern shows up clearly. Depending on the shell, you may need two coats to get that clean look.
Let the paint dry fully before moving on. This base layer makes a big difference in the finished result because it brightens the shell and helps the decorative paper stand out. It also gives the shell that fresh, clean look that works so well with coastal decor.
Step 2: Paint Shells with Mod Podge
Once the paint is dry, brush a layer of Mod Podge over the inside of the shell. Use a foam brush or paint brush and make sure to coat the full interior surface, including the edges. Good edge coverage helps the paper adhere neatly and keeps the finish looking complete.
You do not need to overdo the sealer. A smooth, even layer works best and gives the napkin enough grip without making the surface too wet. The goal is to prep the shell so the paper can settle in cleanly.
Step 3: Apply the Napkin
Take your cocktail napkin and separate the decorative top layer from the white backing. Using only the thin printed layer helps the paper mold to the curves of the shell and creates a smoother finish. It also keeps the final result from looking bulky.
Place the napkin onto the shell while the Mod Podge is still tacky, then gently smooth it along the interior. Work slowly so the paper conforms to the shape without tearing or bunching. This part takes a little patience, but it is what makes the shell look neat and intentional.

Step 4: Seal the Napkin with Mod Podge
Once the napkin has dried and adhered to the shell, gently tear away the excess paper with your hands. The edge of the shell helps guide the tear, which makes it easier to remove the extra without needing scissors. That slightly hand-torn finish blends in well once everything is sealed and painted.
Apply another layer of Mod Podge over the top of the napkin to protect it and give the shell a finished surface. I prefer matte Mod Podge for a softer look, though glossy also works if you want a little shine. Be sure to seal the outer rim area well so you don’t have loose pieces hanging off the edge.
Step 5: Paint the Rim
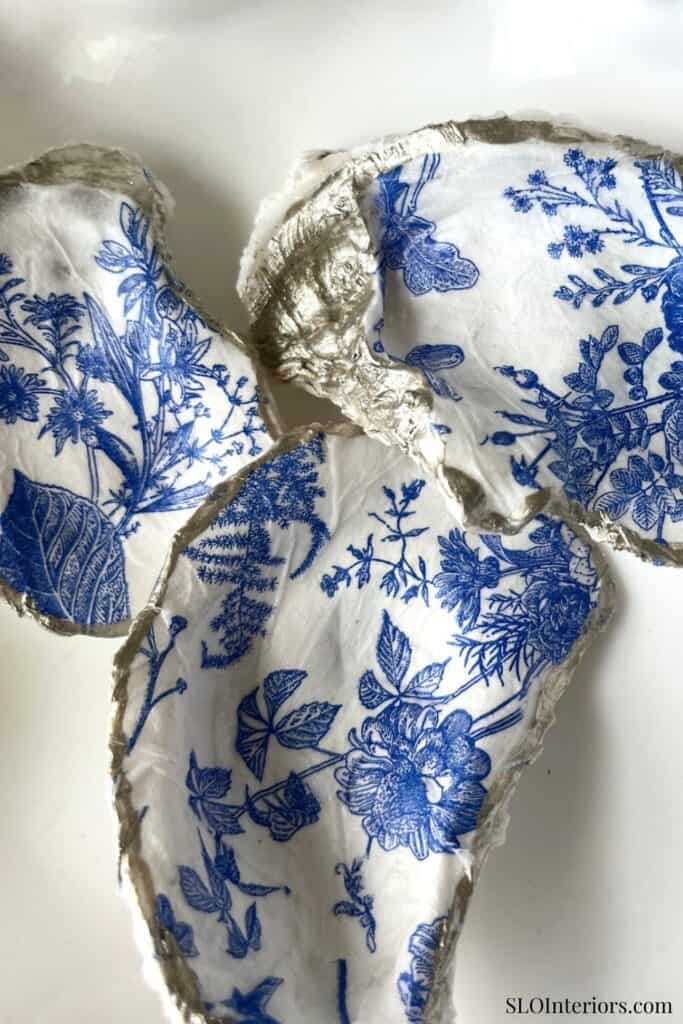
Wait until the Mod Podge has dried before painting the rim, then use gold paint to outline the outside edge of the shell. This is the step that really elevates the piece and gives it that decorative, finished feel. Gold is a pretty choice, but other metallic shades can work beautifully too. Once the rim is dry, the shell is ready to style or gift.
Styling and Use Ideas
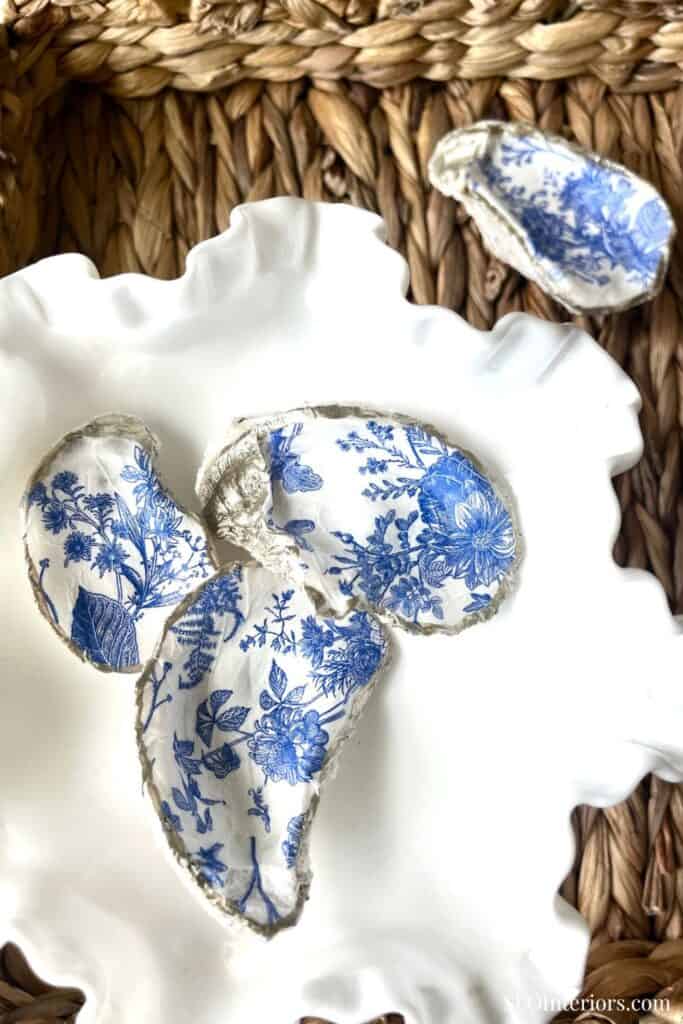
These shells are easy to use throughout the home. They look beautiful layered in a dish, placed on top of a stack of books, or used as little catchalls on a bathroom counter or bedside table. They are especially nice when mixed with other home decor items that are light and airy. They also make excellent ring dishes and easy gifts for friends. If you make several at once, you can keep a few on hand as hostess gifts or little extras for birthdays and holidays. I have also seen people turn them into oyster shell ornaments, and even christmas ornaments, though I have not tried that version myself.
Tips and Variations
One of the best parts of this project is how easy it is to customize. Different cocktail napkins can completely change the look, whether you prefer soft florals, strong icons, blue and white patterns, or brighter colors with more energy. That variety makes this a fun craft to repeat because no two versions have to look the same.
You can also change the rim color to suit your style. Gold feels timeless, but hot pink, kelly green or silver can all give the shell a different personality. However you finish them, oyster shell decor adds a refined coastal touch and creates pieces that feel much more special than their simple materials suggest.
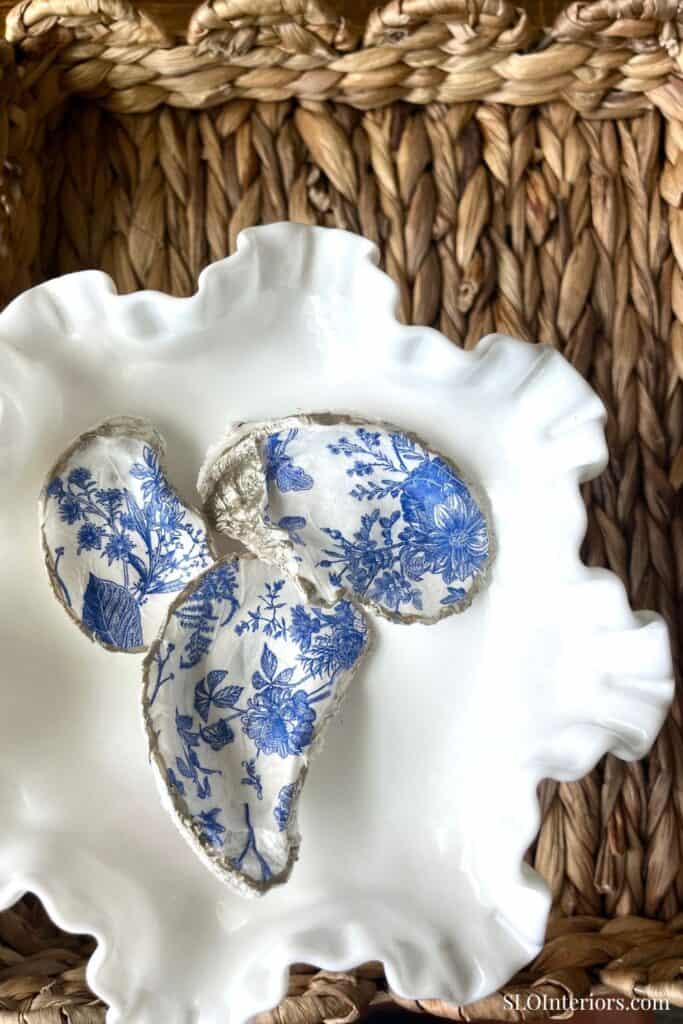
The Finished Oyster Shell Decor
The finished shells are pretty, practical, and easy to style. They bring that easy coastal feeling into a room in a polished way. This kind of project feels special because it is handmade, but it still looks elevated enough to display. It is also the kind of craft that would be fun for a girls’ night or a casual creative afternoon. Whether you style them at home or make a few to share, they are a beautiful way to add a coastal touch that feels personal and polished.