
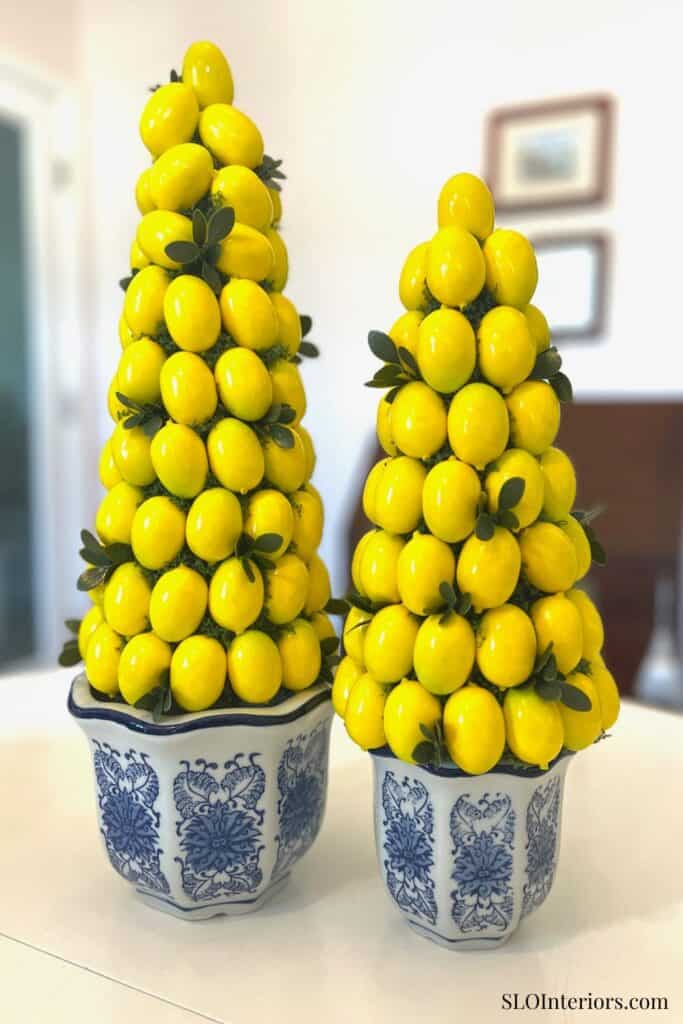
Topiary decor is one of those details that makes a home feel instantly more styled. These DIY lemon trees bring in that classic shape with a fresh pop of color that feels bright, cheerful, and easy to use in everyday spaces. They are especially pretty for spring and summer, but the overall look is timeless enough to keep around well beyond one season.
This project is a good solution for a common decorating problem. Store hard bought topiary trees can be surprisingly expensive, especially for a small decor item that has seasonality attached to it. Making your own gives you a similar look for less, and the finished result still feels thoughtful enough for shelves, kitchen counters, console tables, or accent tables around the house.
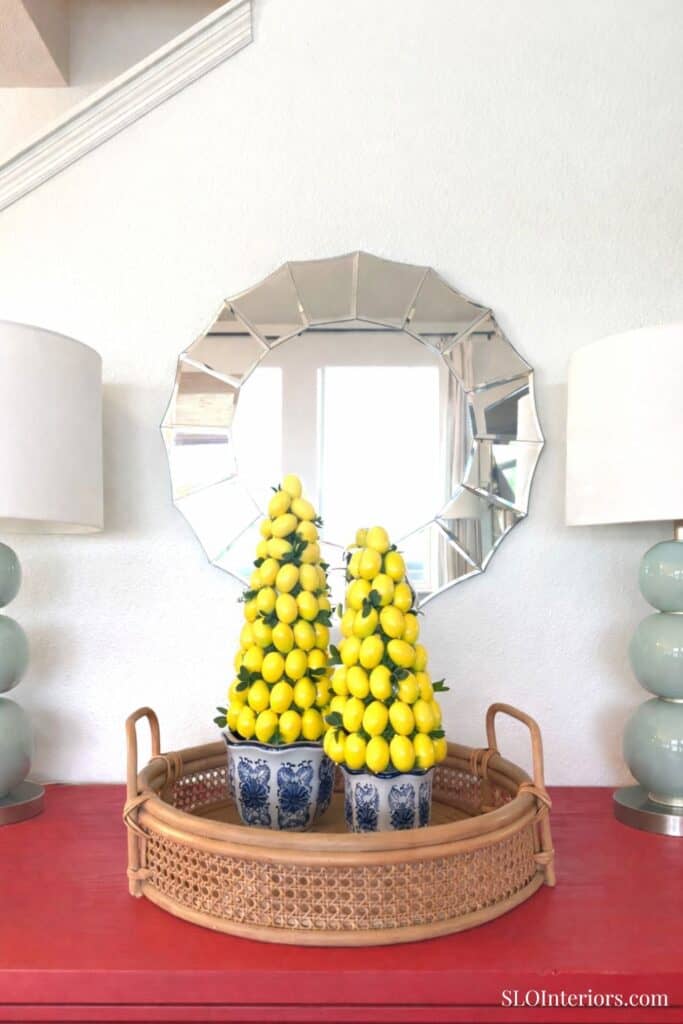
Citrus Topiary Decor
One of the best things about this project is how simple it is to put together. The steps are repetitive, the materials are easy to find, and the finished trees look more special than you might expect from such a straightforward process. If you like decor that feels polished and fun, this is an easy DIY to enjoy.
What You’ll Need
Materials
- Foam cone trees
- Mini lemons
- Small greenery sprigs (can be clipped from larger stems)
- Bag of artificial moss
- Pots to set the finished trees on top of
Tools
- Scissors
- Hot glue gun and glue sticks
- Tooth pick or pencil (something small and slightly pointy)
Before You Start
Before you begin, it helps to separate your supplies into two groups. In the first group, place the foam cone trees, glue gun, glue sticks, and lemons. In the second group, keep the greenery sprigs and faux moss nearby so they are ready once the base layer is finished.
This makes the project feel much easier once you get started. Since the trees are built in layers, having everything organized ahead of time keeps the process moving and helps each step feel simple.
How to Make Lemon Topiaries
Step 1: Glue the Lemons onto the Cone Trees
Start at the bottom of each foam cone and glue the lemons in place one at a time. Work your way upward, placing them at slightly different angles rather than trying to line them up perfectly. That little bit of variation helps the finished tree look more natural.
As you go, keep an eye on the spacing around each lemon so there is enough room for the next one to fit. This matters most as you move toward the top, where the cone becomes narrower. Continue until the entire cone is covered and the shape looks balanced from all sides.
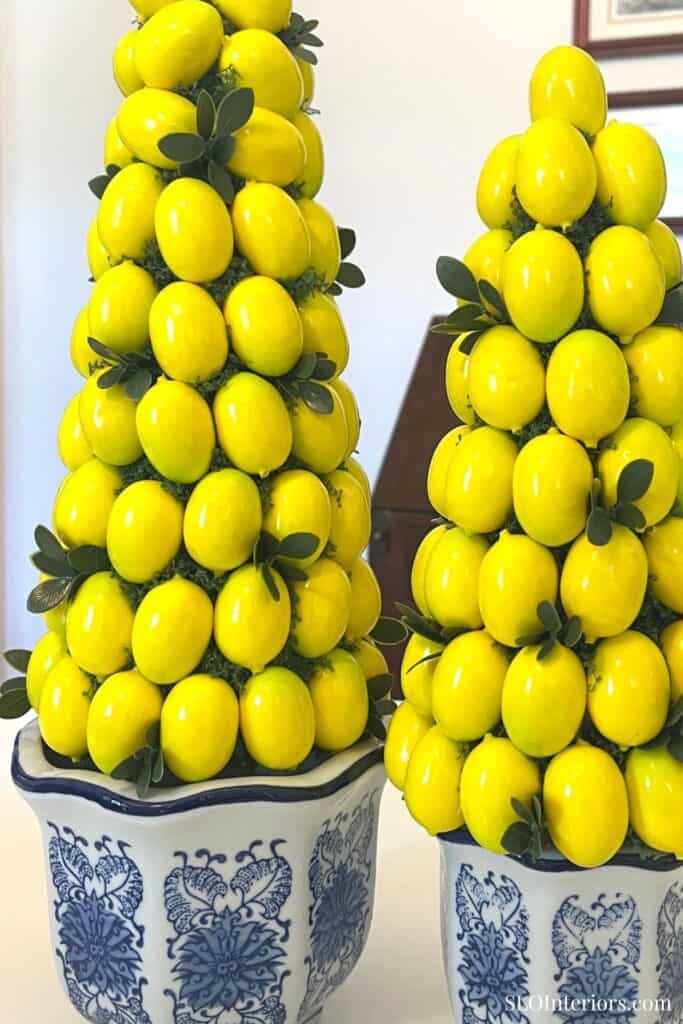
Step 2: Fill the Open Spaces with Faux Moss
Once the lemons are attached, use your scissors to clip the moss into small pieces. Press those pieces into the gaps between the lemons with a toothpick or pencil. This step hides the foam cone and helps the tree feel fuller.
You do not need glue here. The structure created by the lemons will hold the moss in place well enough on its own. Keep filling the open spaces until the cone no longer shows through and the tree starts to look finished.
Step 3: Add the Greenery Sprigs
If your greenery sprigs come attached to larger stems, clip them into smaller pieces first. Then use small drops of hot glue to place the greenery into random spaces between the lemons. There is no need to make this perfectly even. A slightly scattered placement looks better and gives the tree a more relaxed, natural finish. It also adds a soft layered look that breaks up the yellow and green in a way that feels more polished.
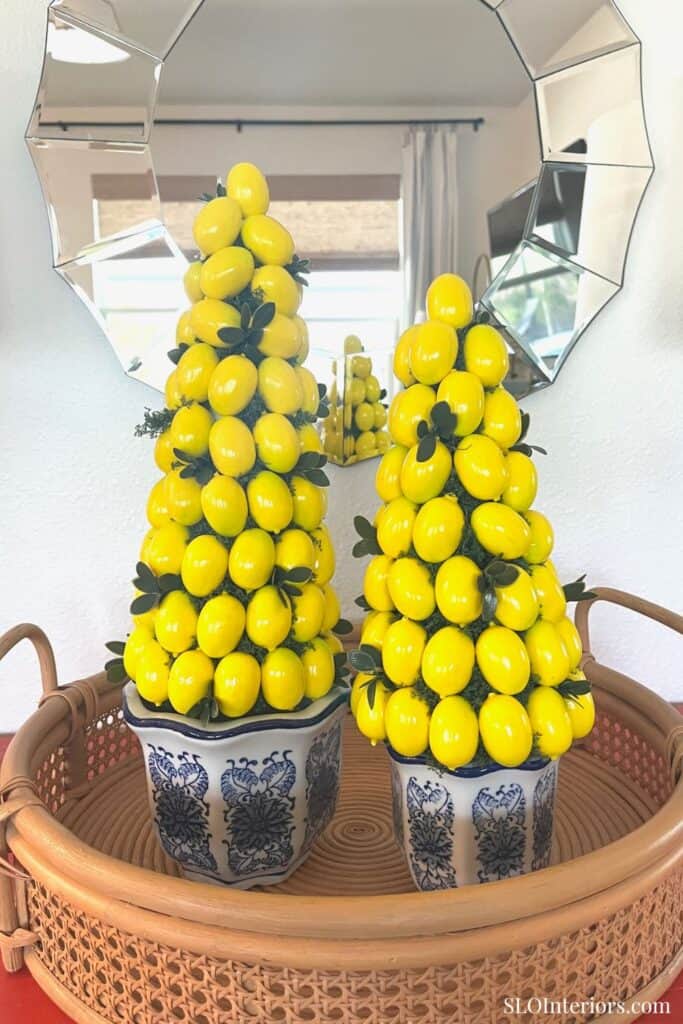
Step 4: Place the Trees on the Pots
Once the trees are complete, set them on top of your pots. I had a matching set of three pots and used two of them, which made the pair feel coordinated without looking too formal. The main thing is making sure the opening of the pot is wide enough for the base of the tree to rest securely.
Styling Ideas for Lemon Topiary Trees
I love decor that can stay out longer than one season, and these are easy to enjoy from early spring into summer. I have mine on the bookshelves in my office, but they would also be pretty on kitchen counters, a console table, or open shelving. They add color and shape in a way that feels cheerful without taking over the space. used the same lemon theme in my simple lemon summer home decor, where a few citrus accents helped bring the season into everyday spaces.
They also work with a range of styles, which makes them especially versatile. If your home leans colorful, classic, or coastal, they will fit in easily. They feel fresh and bright, but still polished enough for everyday use.
Tips and Variations
This is a simple project to customize, which is part of what makes it so useful. You can swap the lemons for another fruit, small flowers, or another decorative accent and keep the same basic process. That gives you an easy way to change the look without having to start over.
The pots can shift the feel too. A more traditional planter keeps the look classic, while something woven or textured feels a little softer. If you want the look of faux topiary in a quieter way, you can also make a smaller version with shorter cones and fewer lemons. The same method would also work nicely with other topiary plants, especially if you like decorating with topiary balls and want something a little more playful.
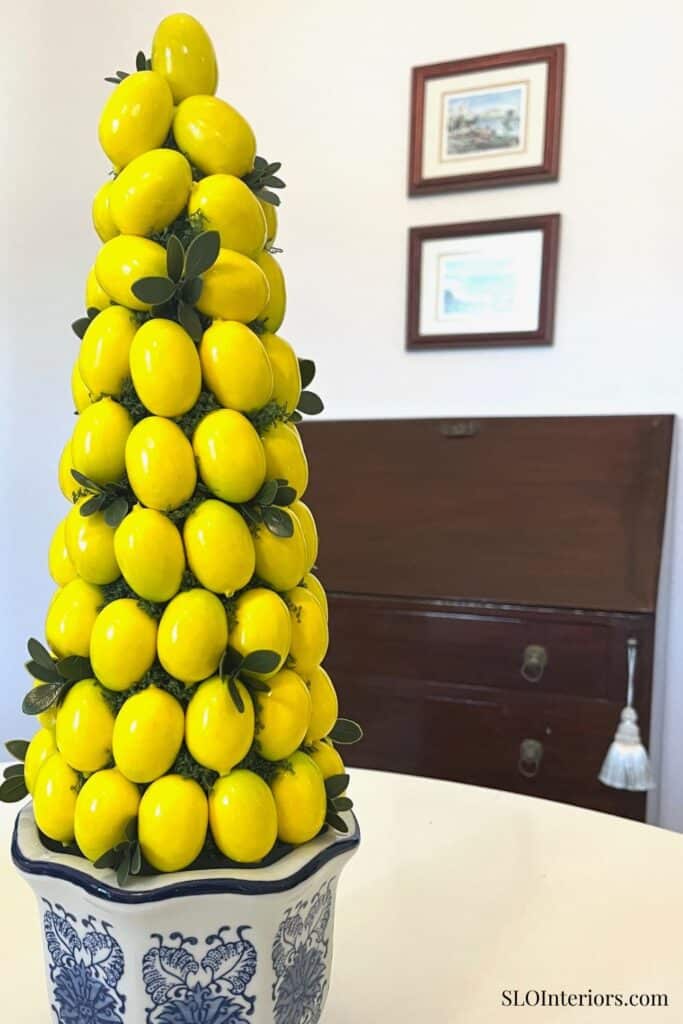
The Finished Lemon Topiaries
These lemon topiary trees are the kind of DIY that feels worth the effort because the finished result is impactful, cheerful, and easy to style. They bring the charm of topiary decor into your home in a way that feels personal and budget friendly, and they work just as well on shelves and counters as they do on a table. It is a simple project with a classic look, which is exactly what makes it easy to enjoy long after summer.
More Summer Decorating Ideas
Colorful Summer Home Decor Ideas